DR970X BOX- 2CH PLUS - Using BlackVue Apps to add camera
1. BLACKVUE APPS VERSION
1.1 BLACKVUE APPS
Latest Version
- BlackVue Apps 3.51.1 (IOS)
- BlackVue Apps 3.58 (ANDROID)
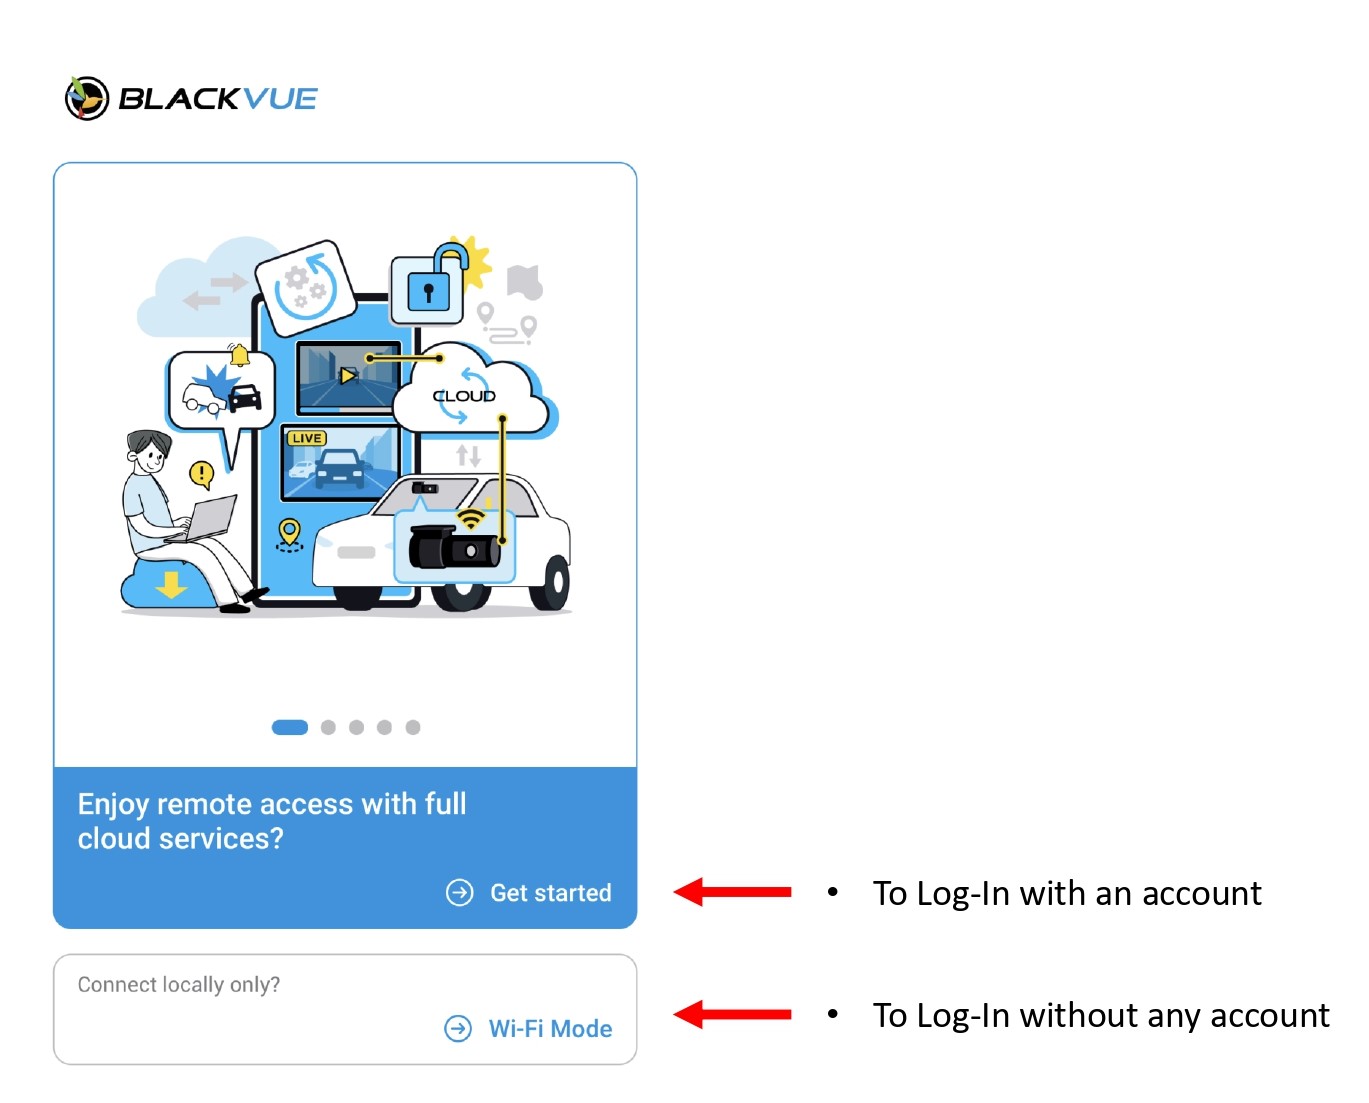
1.2 TO LOG IN WITH AN ACCOUNT
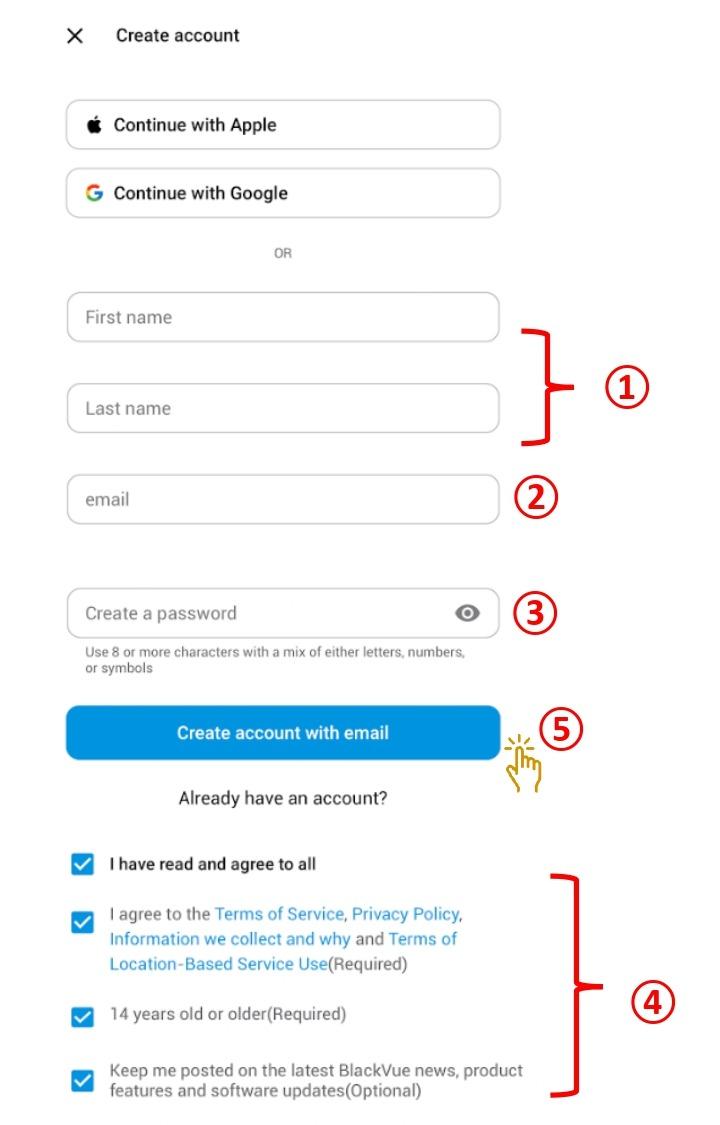
1.2.1 To create a new account
-
Input user name.
-
Input user's email address.
-
Create the account password.
-
Read and understand the terms and conditions and tick on the terms.
- Click on " Create Account With Email"
-
A 6-digit confirmation code will send to the user registered email for verification.
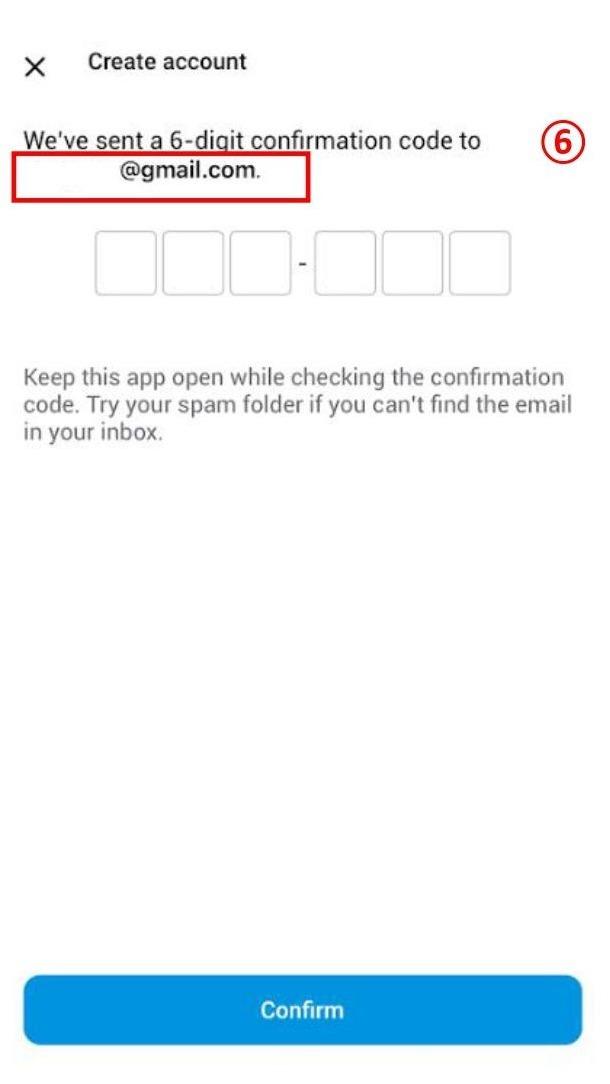
- Retrieve the 6 digit code from the registered user email address.
A sample 6 digit code to retrieve from registered user email address.
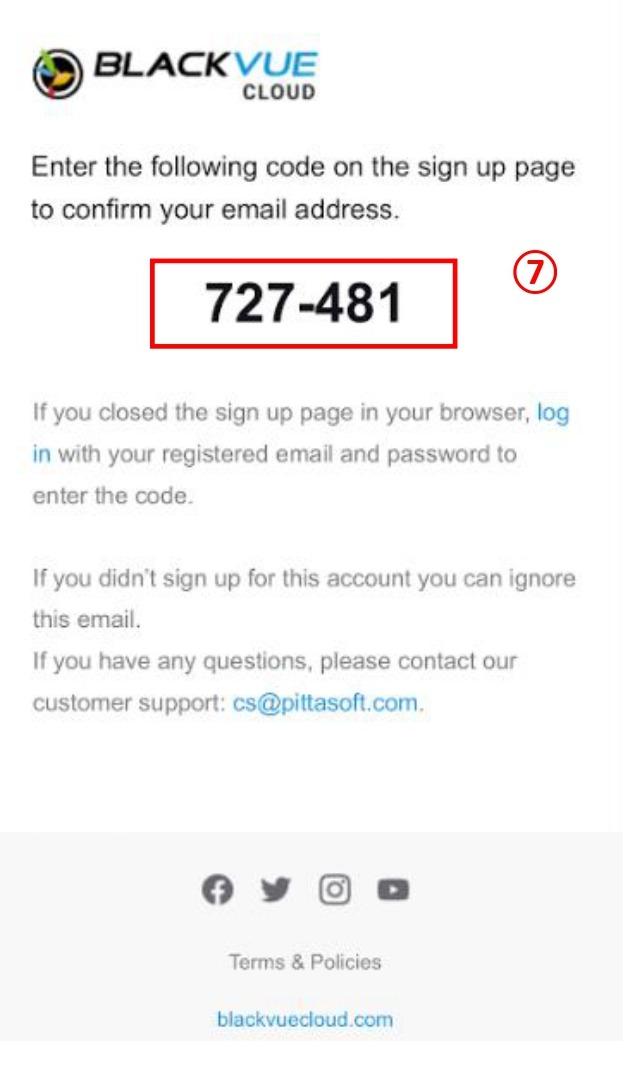
- Input the 6 digit code and click “Confirm”
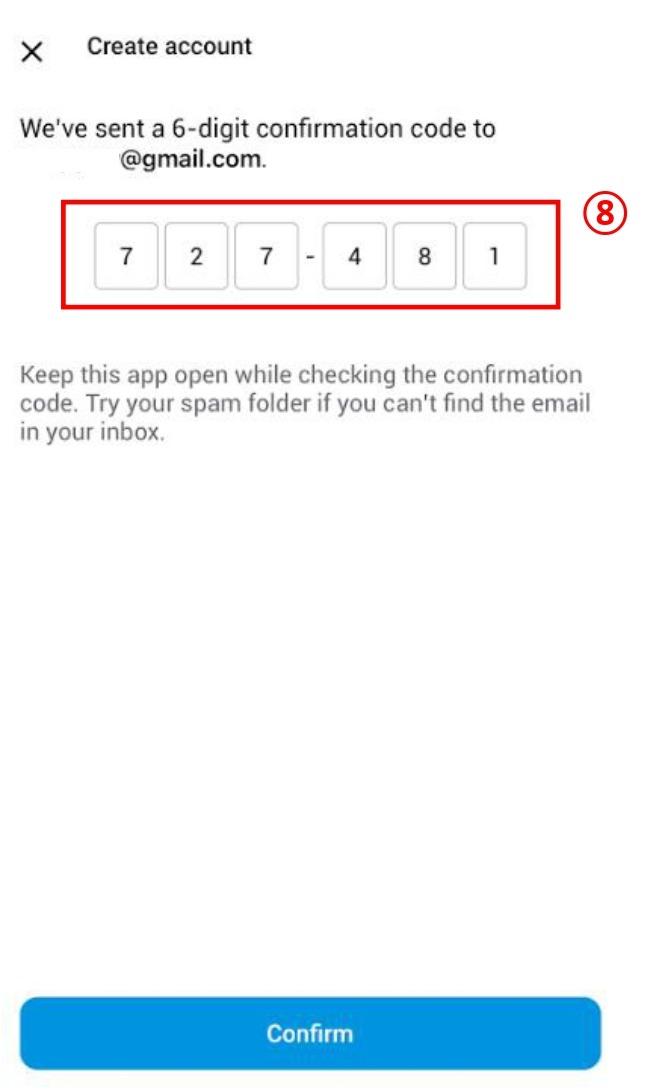
- You have successfully registered an account to access BlackVue Apps.
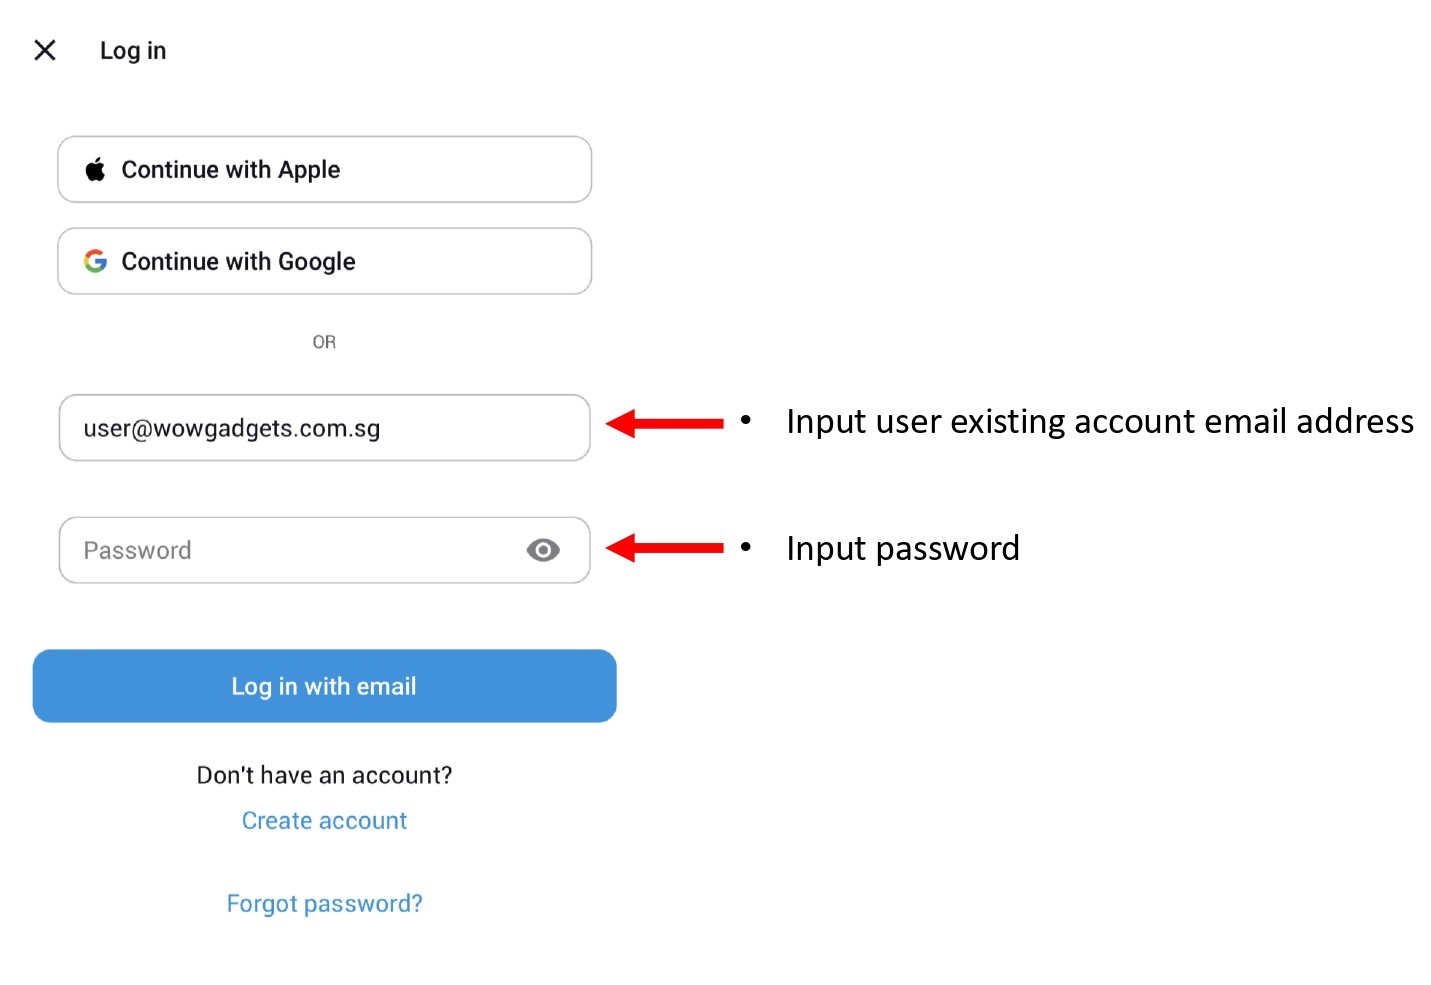
1.2.2 Using existing account
-
Input the existing account email address and password to log in.
1.3 WI-FI MODE - TO LOG IN WITHOUT AN ACCOUNT
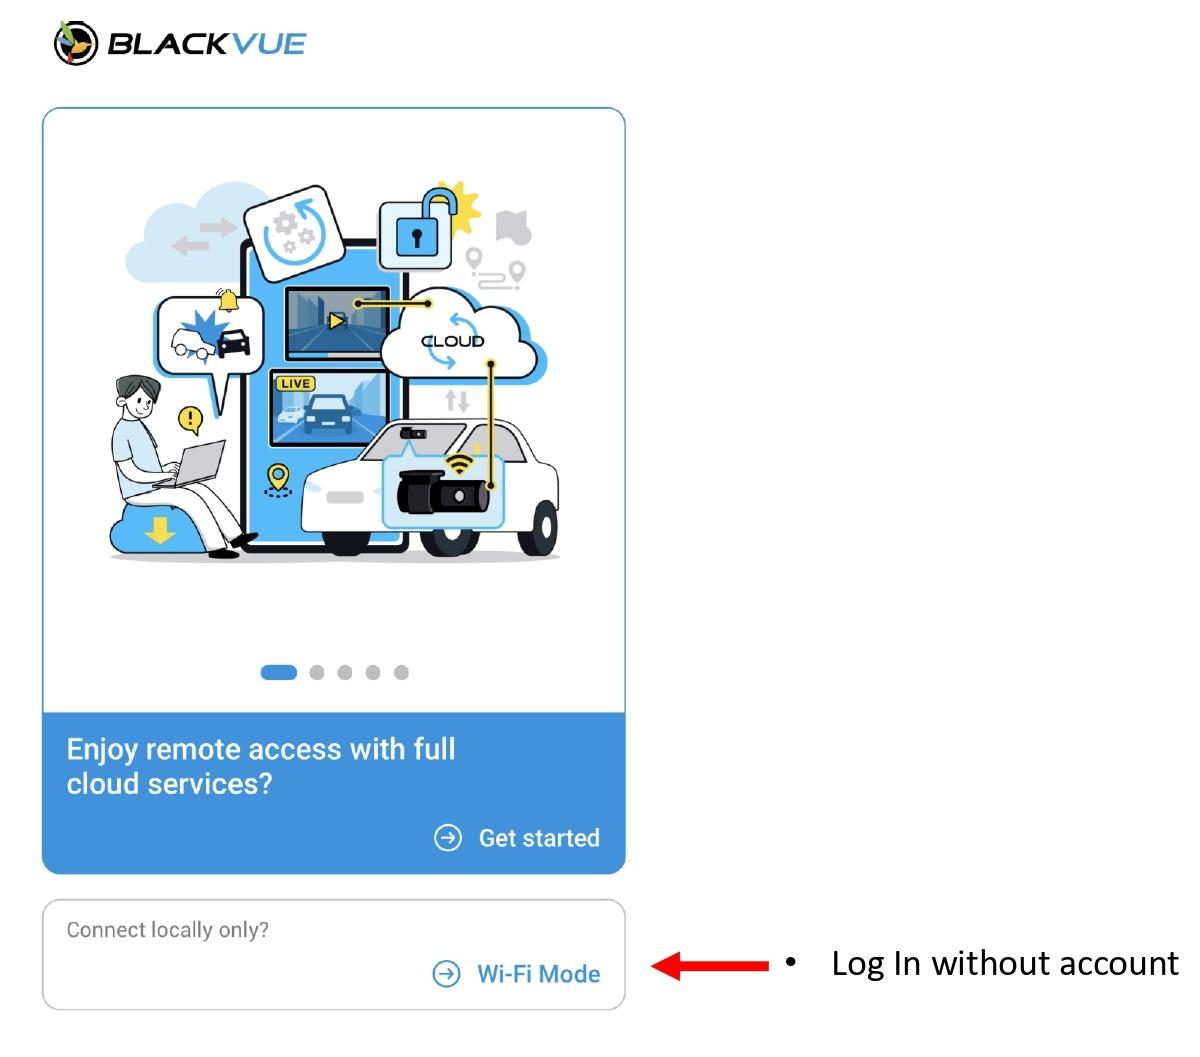
-
Click on the Wi-Fi Mode (To log in without account)
-
User can start to add camera.
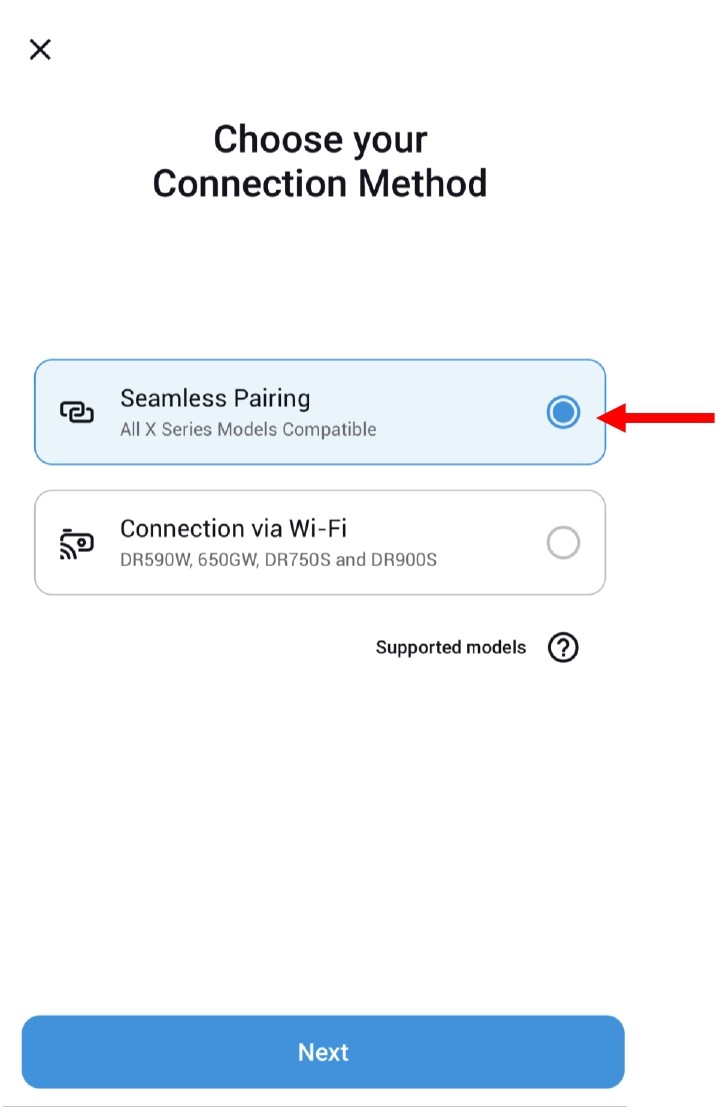
2. ADD CAMERA - SEAMLESS PAIRING DASHCAM MODEL
2.1 STEPS ON ADDING SEAMLESS PAIRING DASHCAM MODEL
- Select "Seamless Pairing" for dashcam that do have seamless pairing feature.
Dashcams that have seamless pairing features: DR970X, DR770X, DR900X, DR750X
- Once selected. click on "Next"
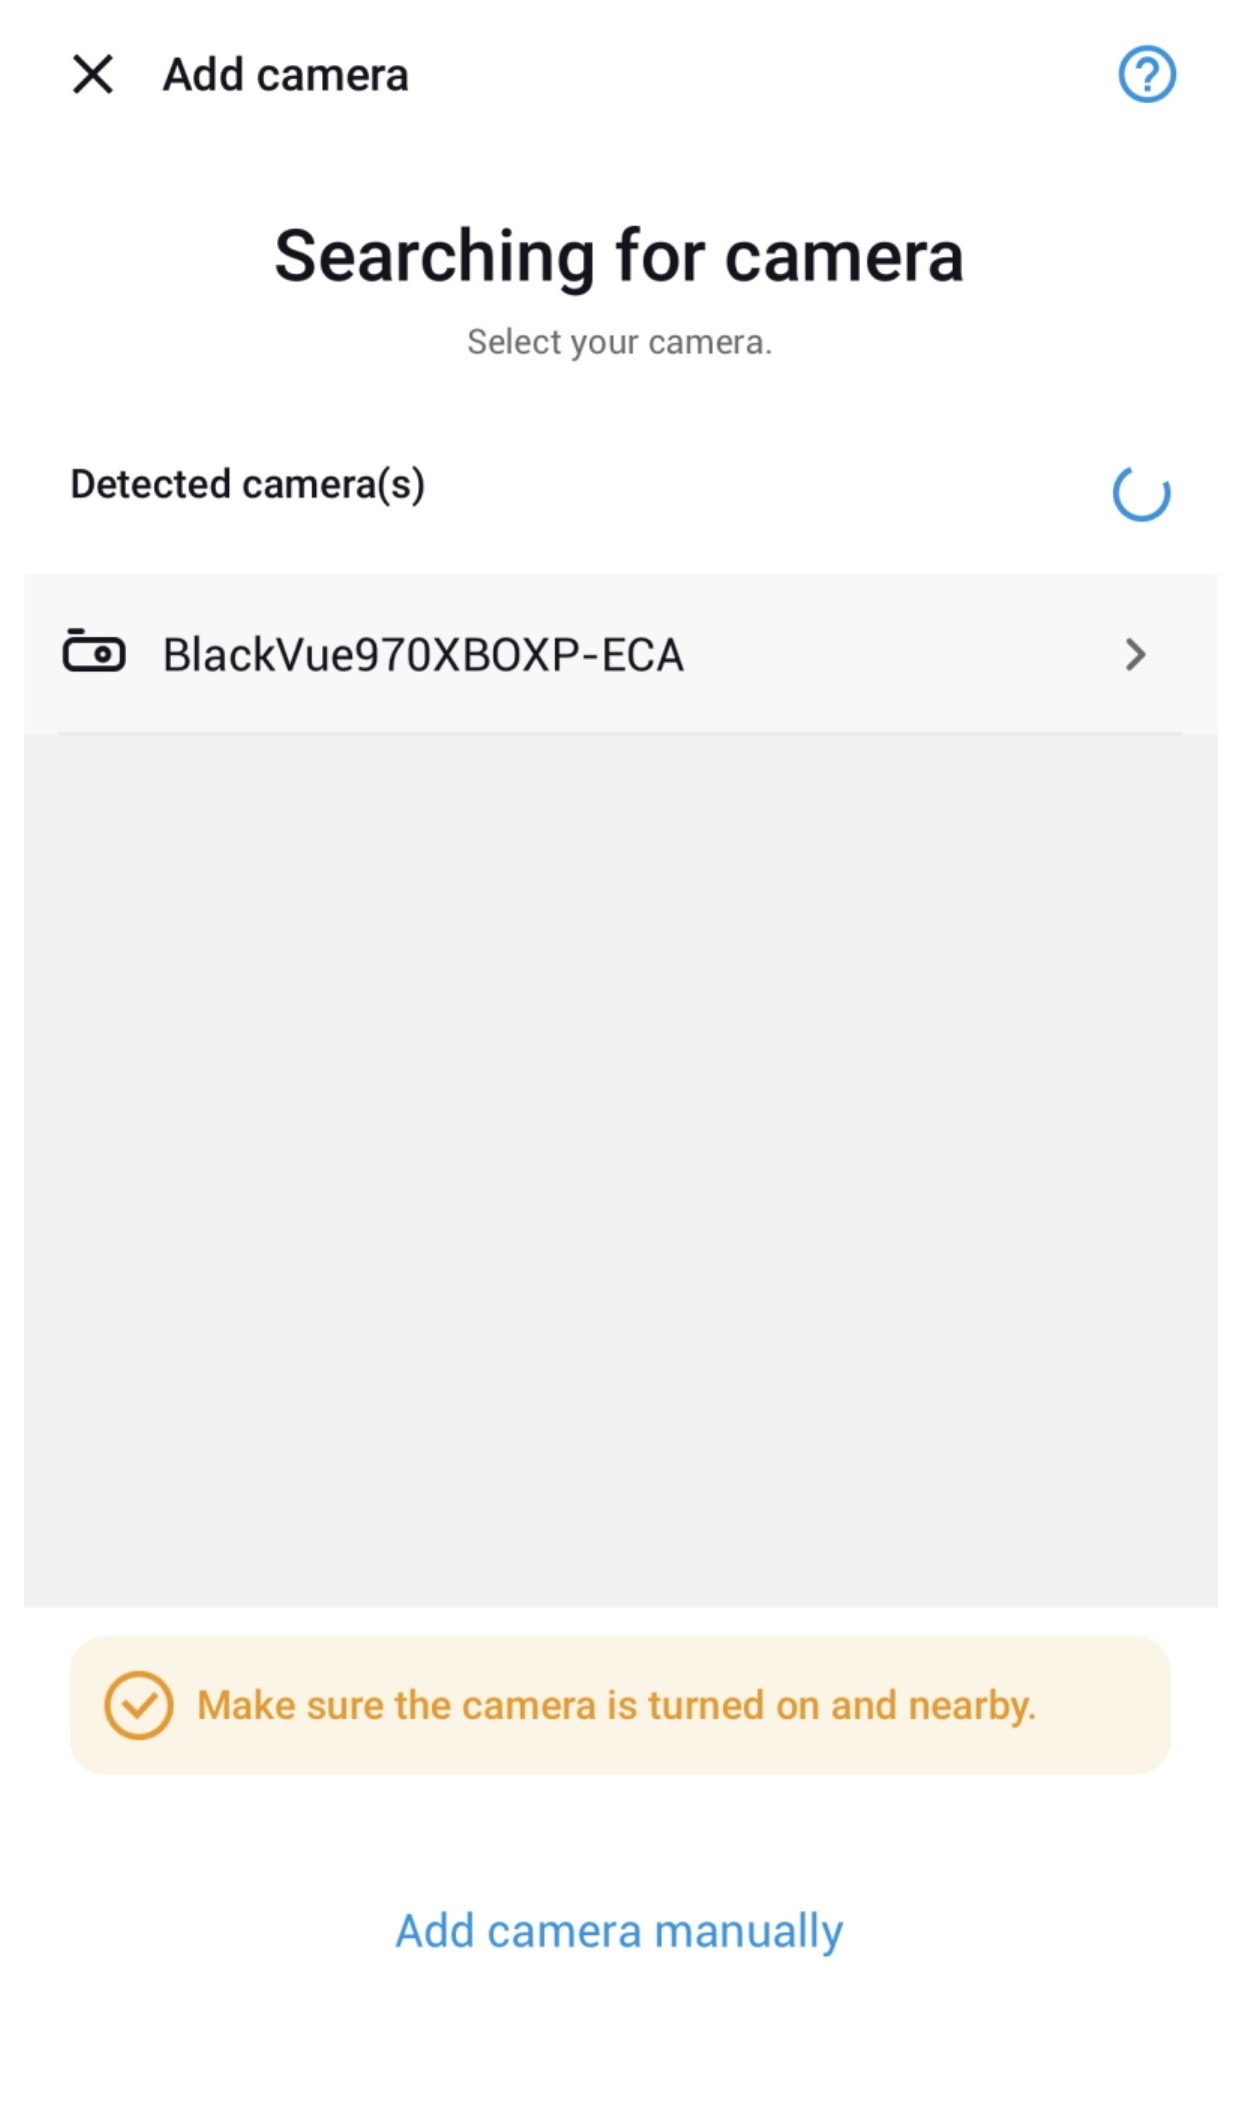
- Choose your BlackVue dashcam from the detected camera list.
2.1.1 Using Scan QR Code
-
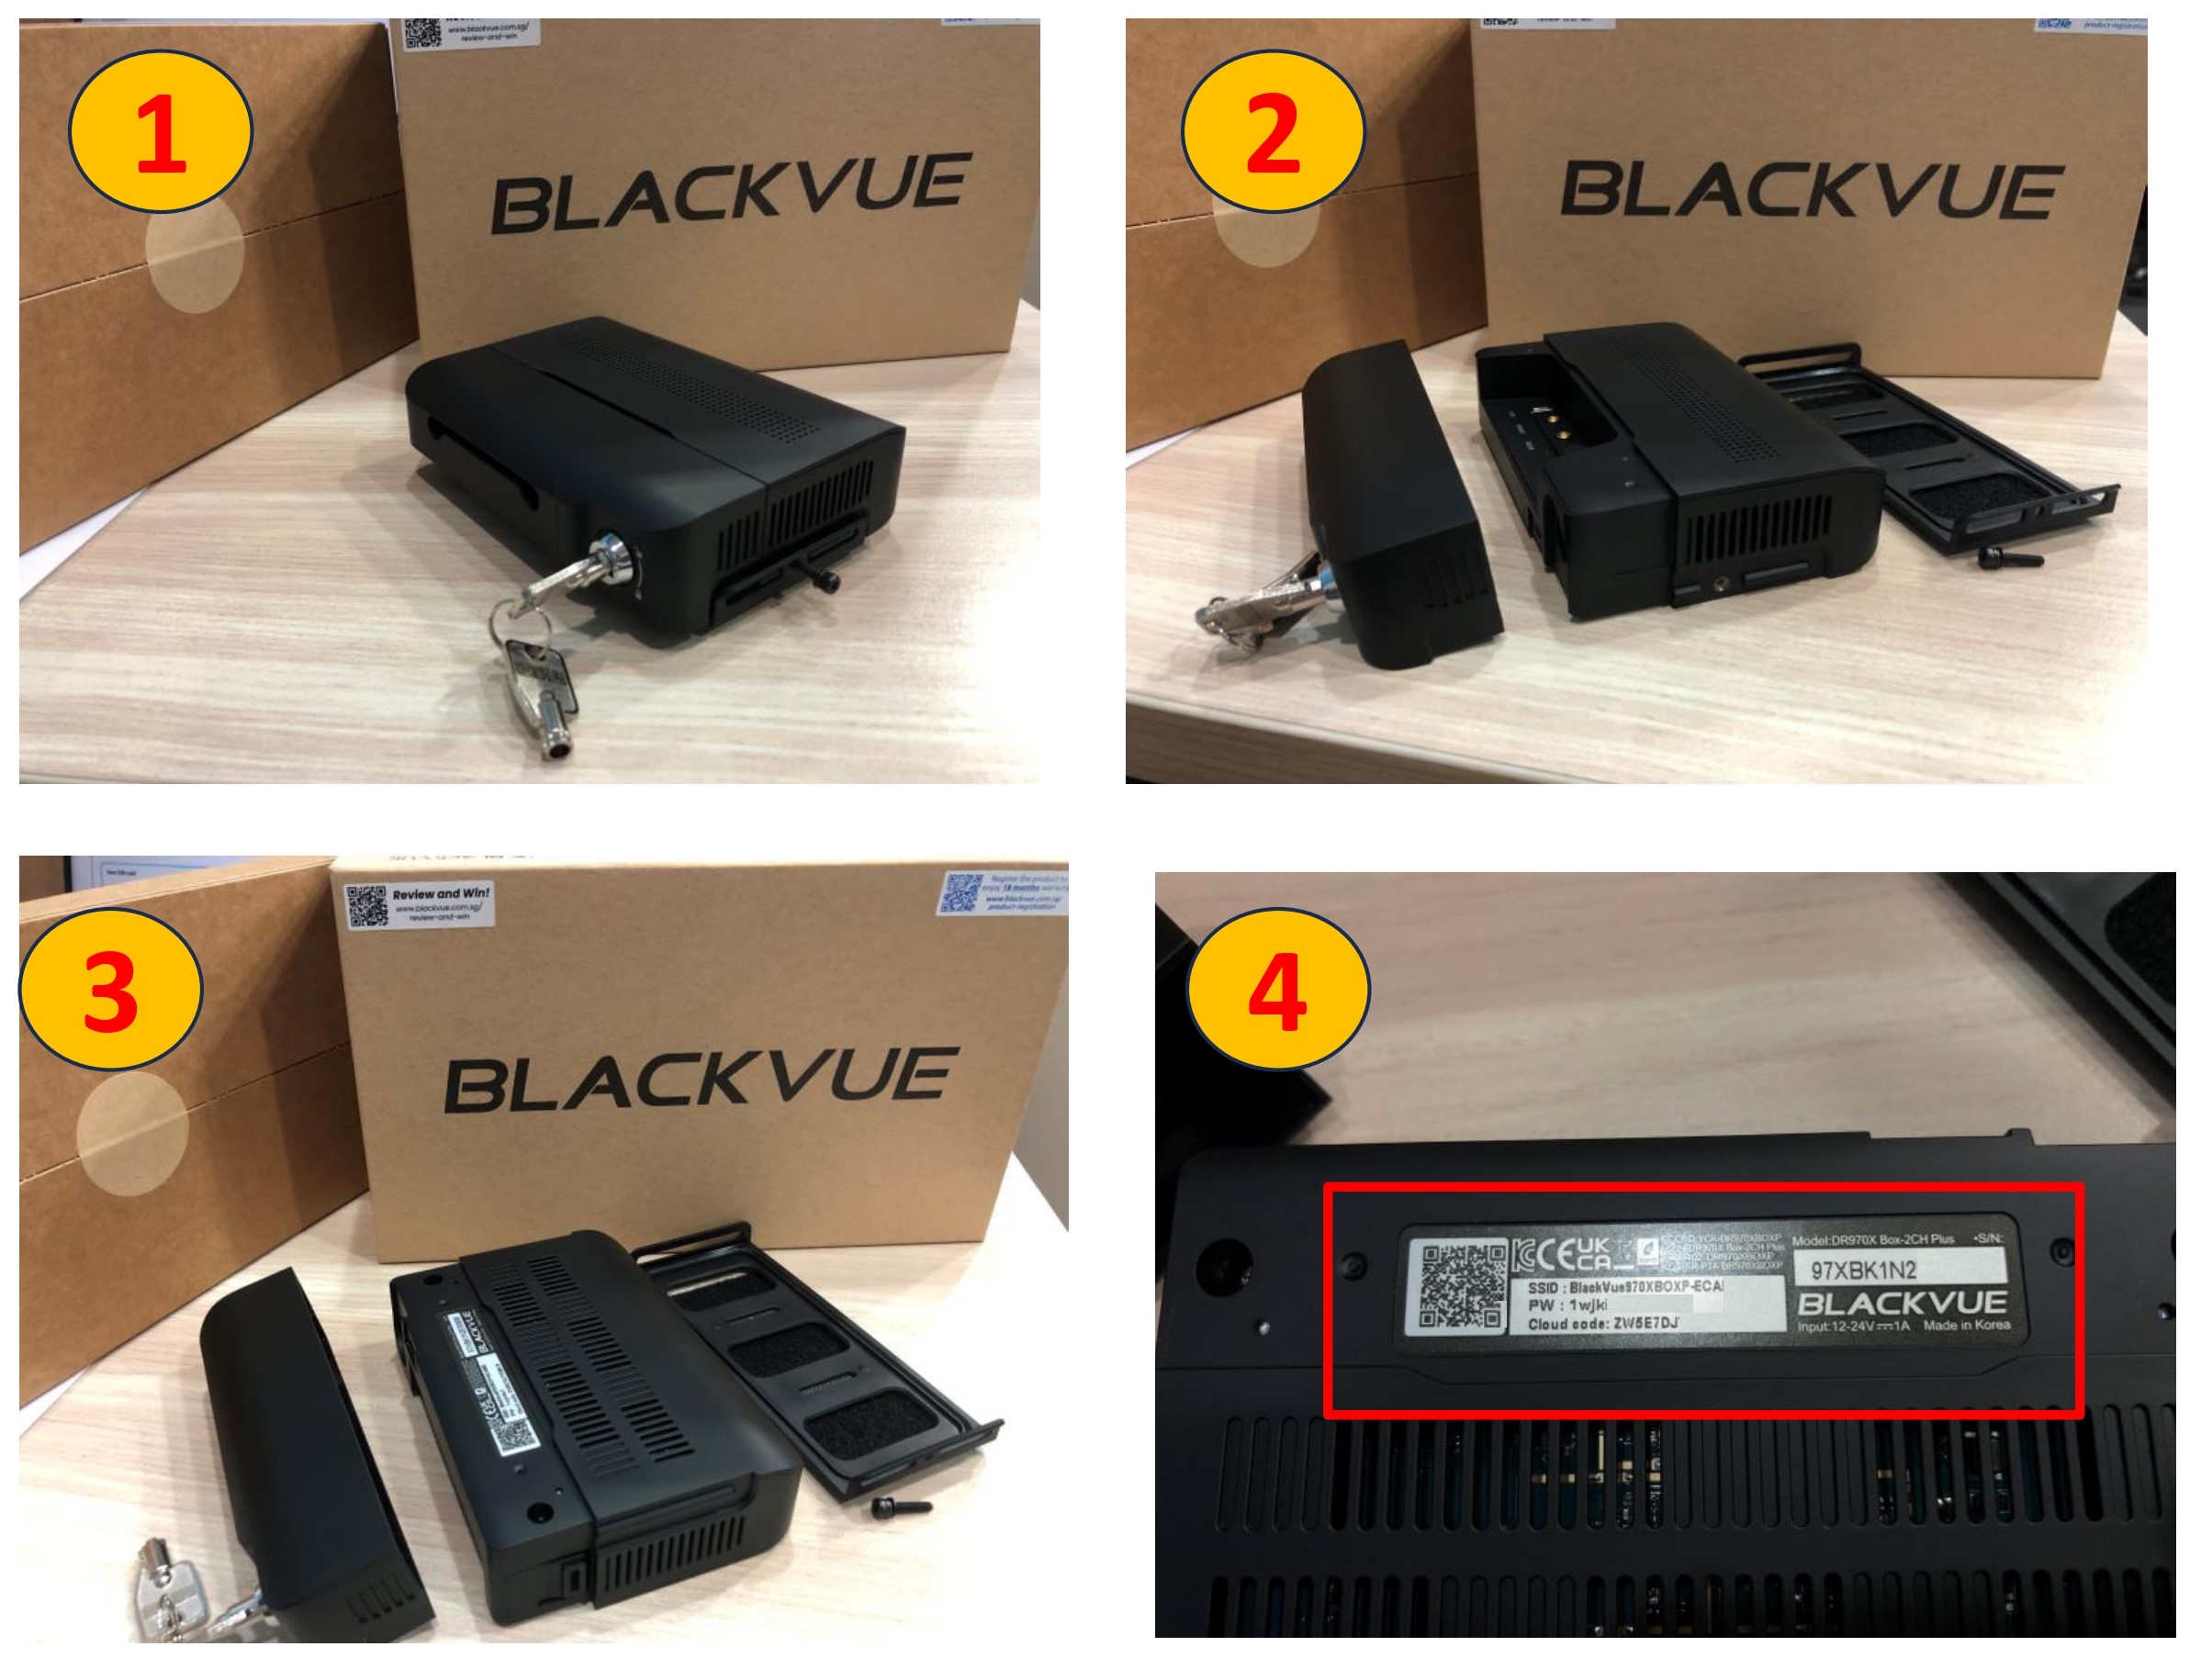
To connect to the main unit, scan the QR code.
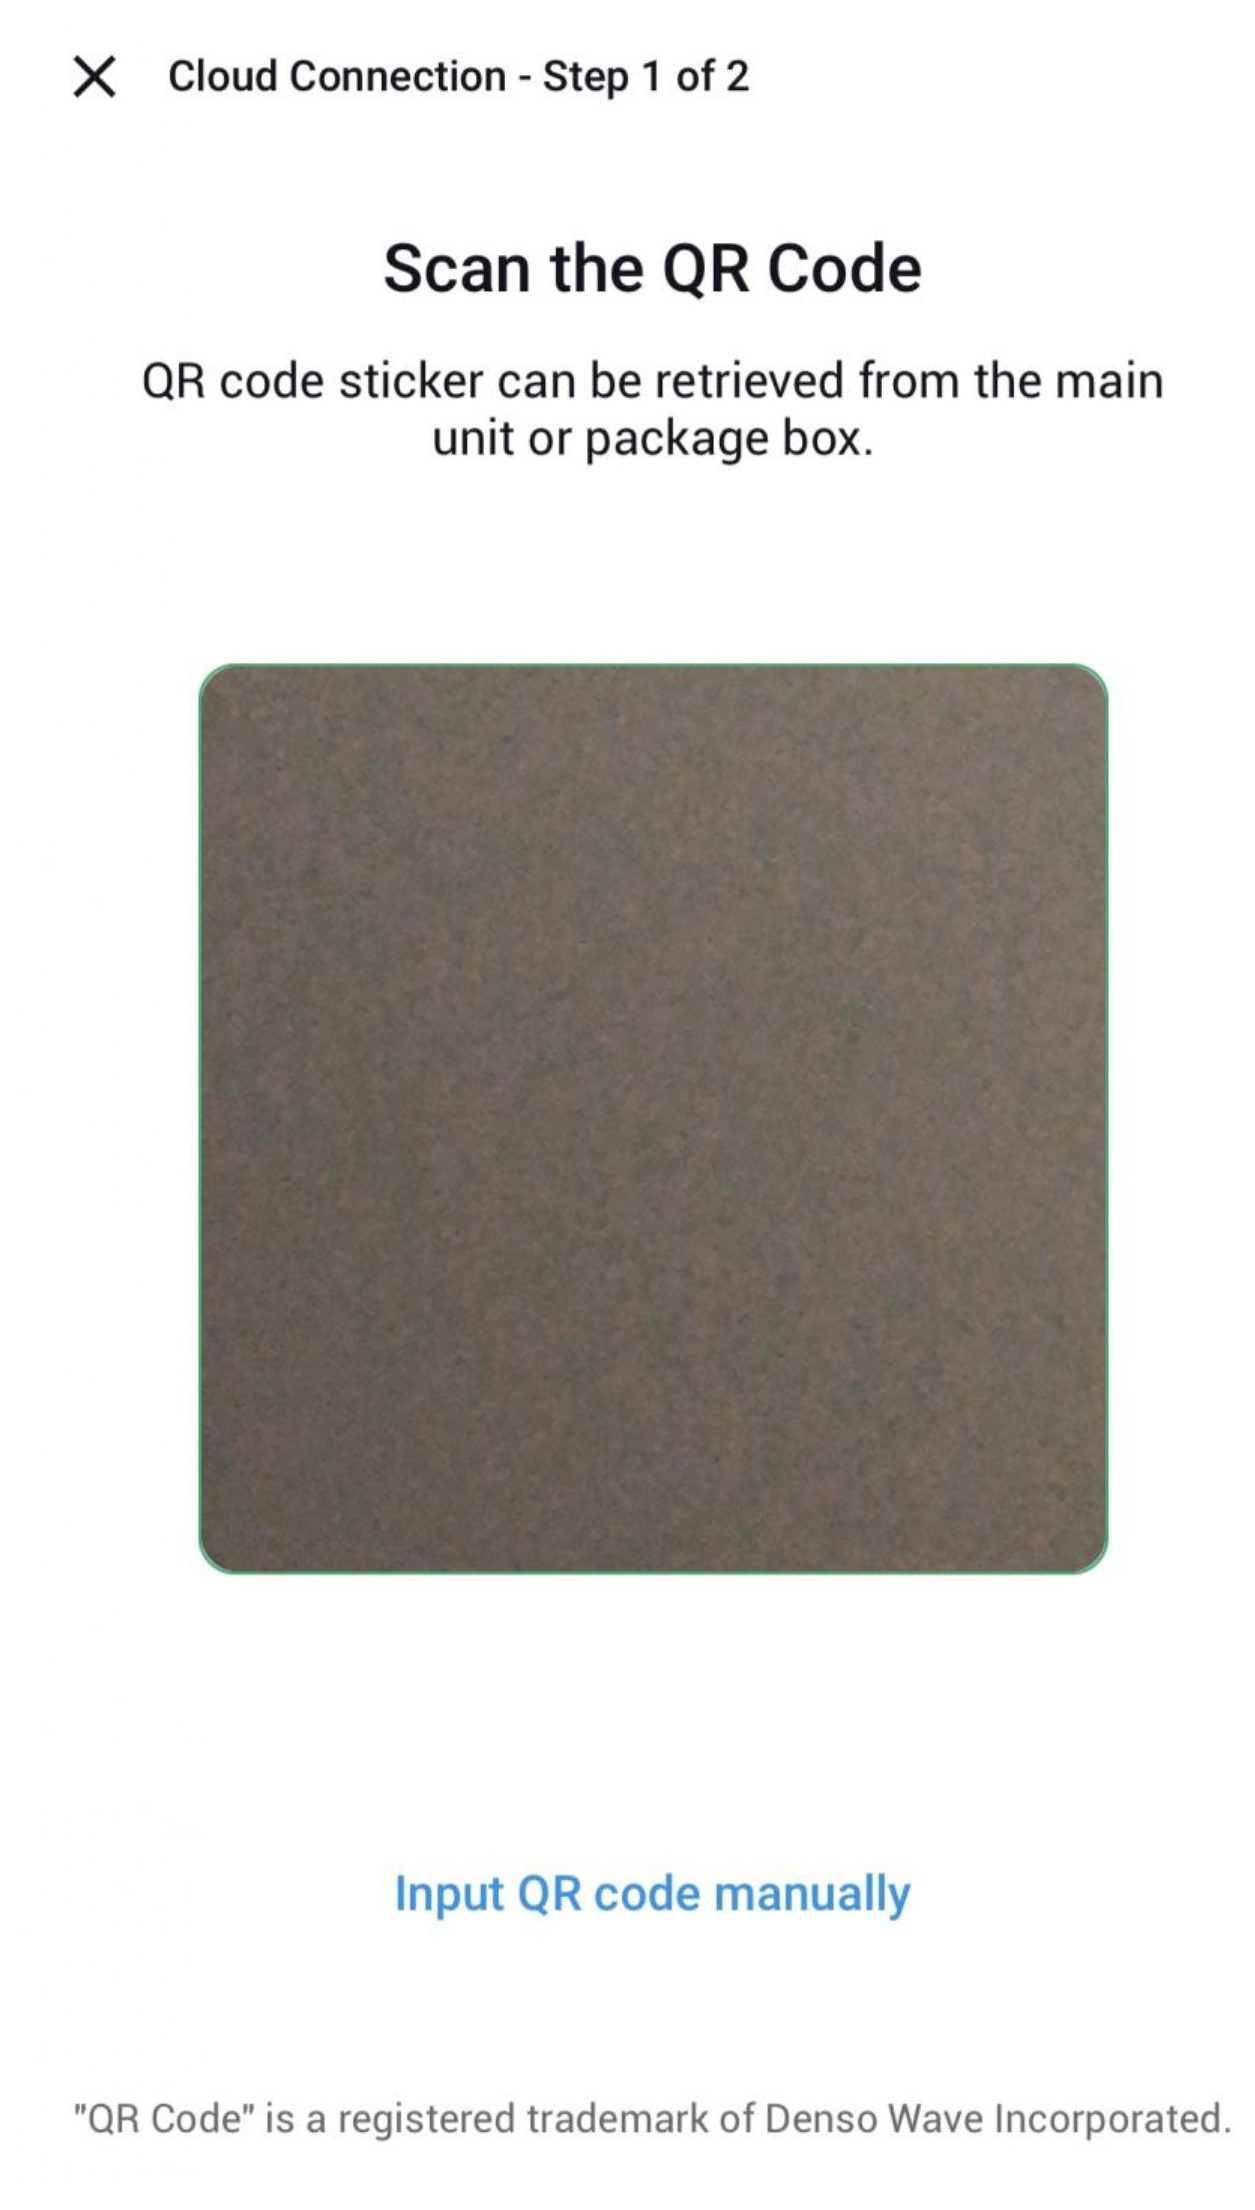
- QR code can be located at
a. Package itself.
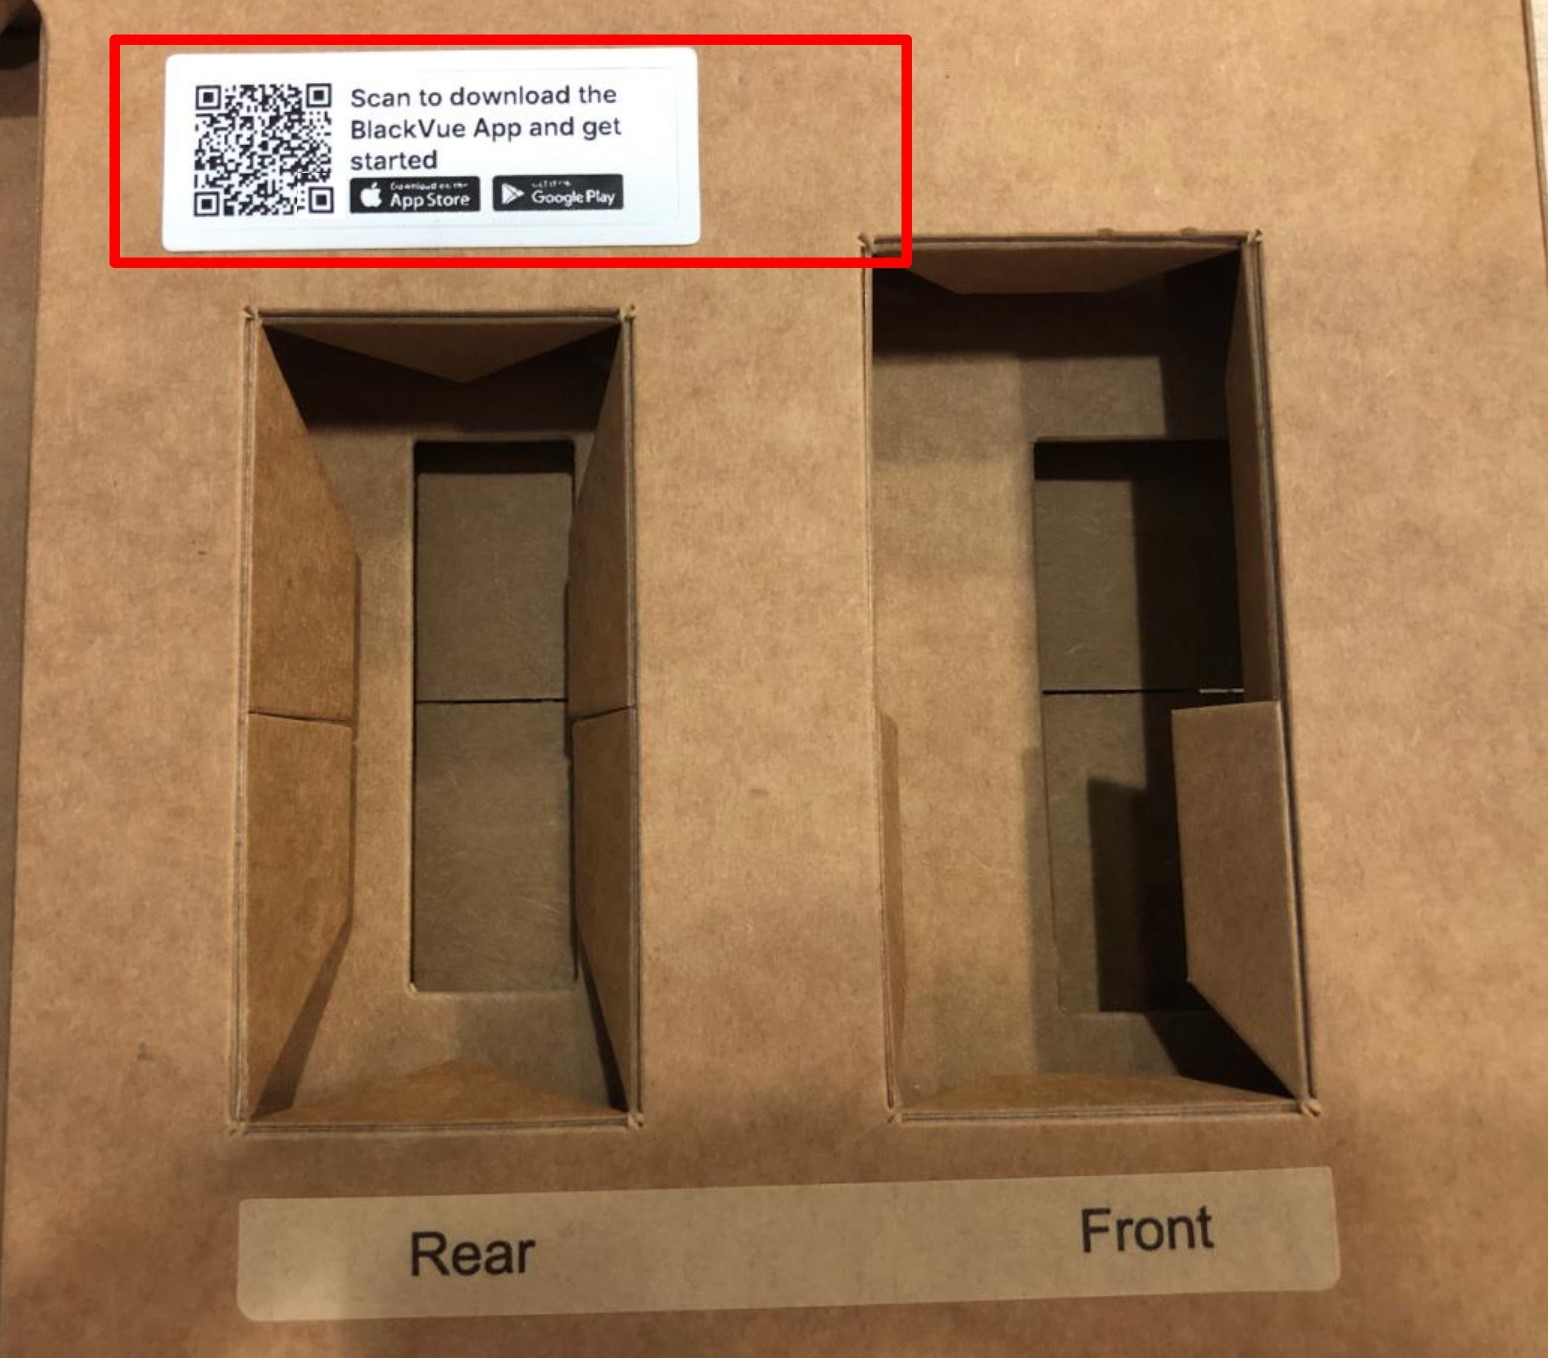
b. Front camera.
c. Main unit.
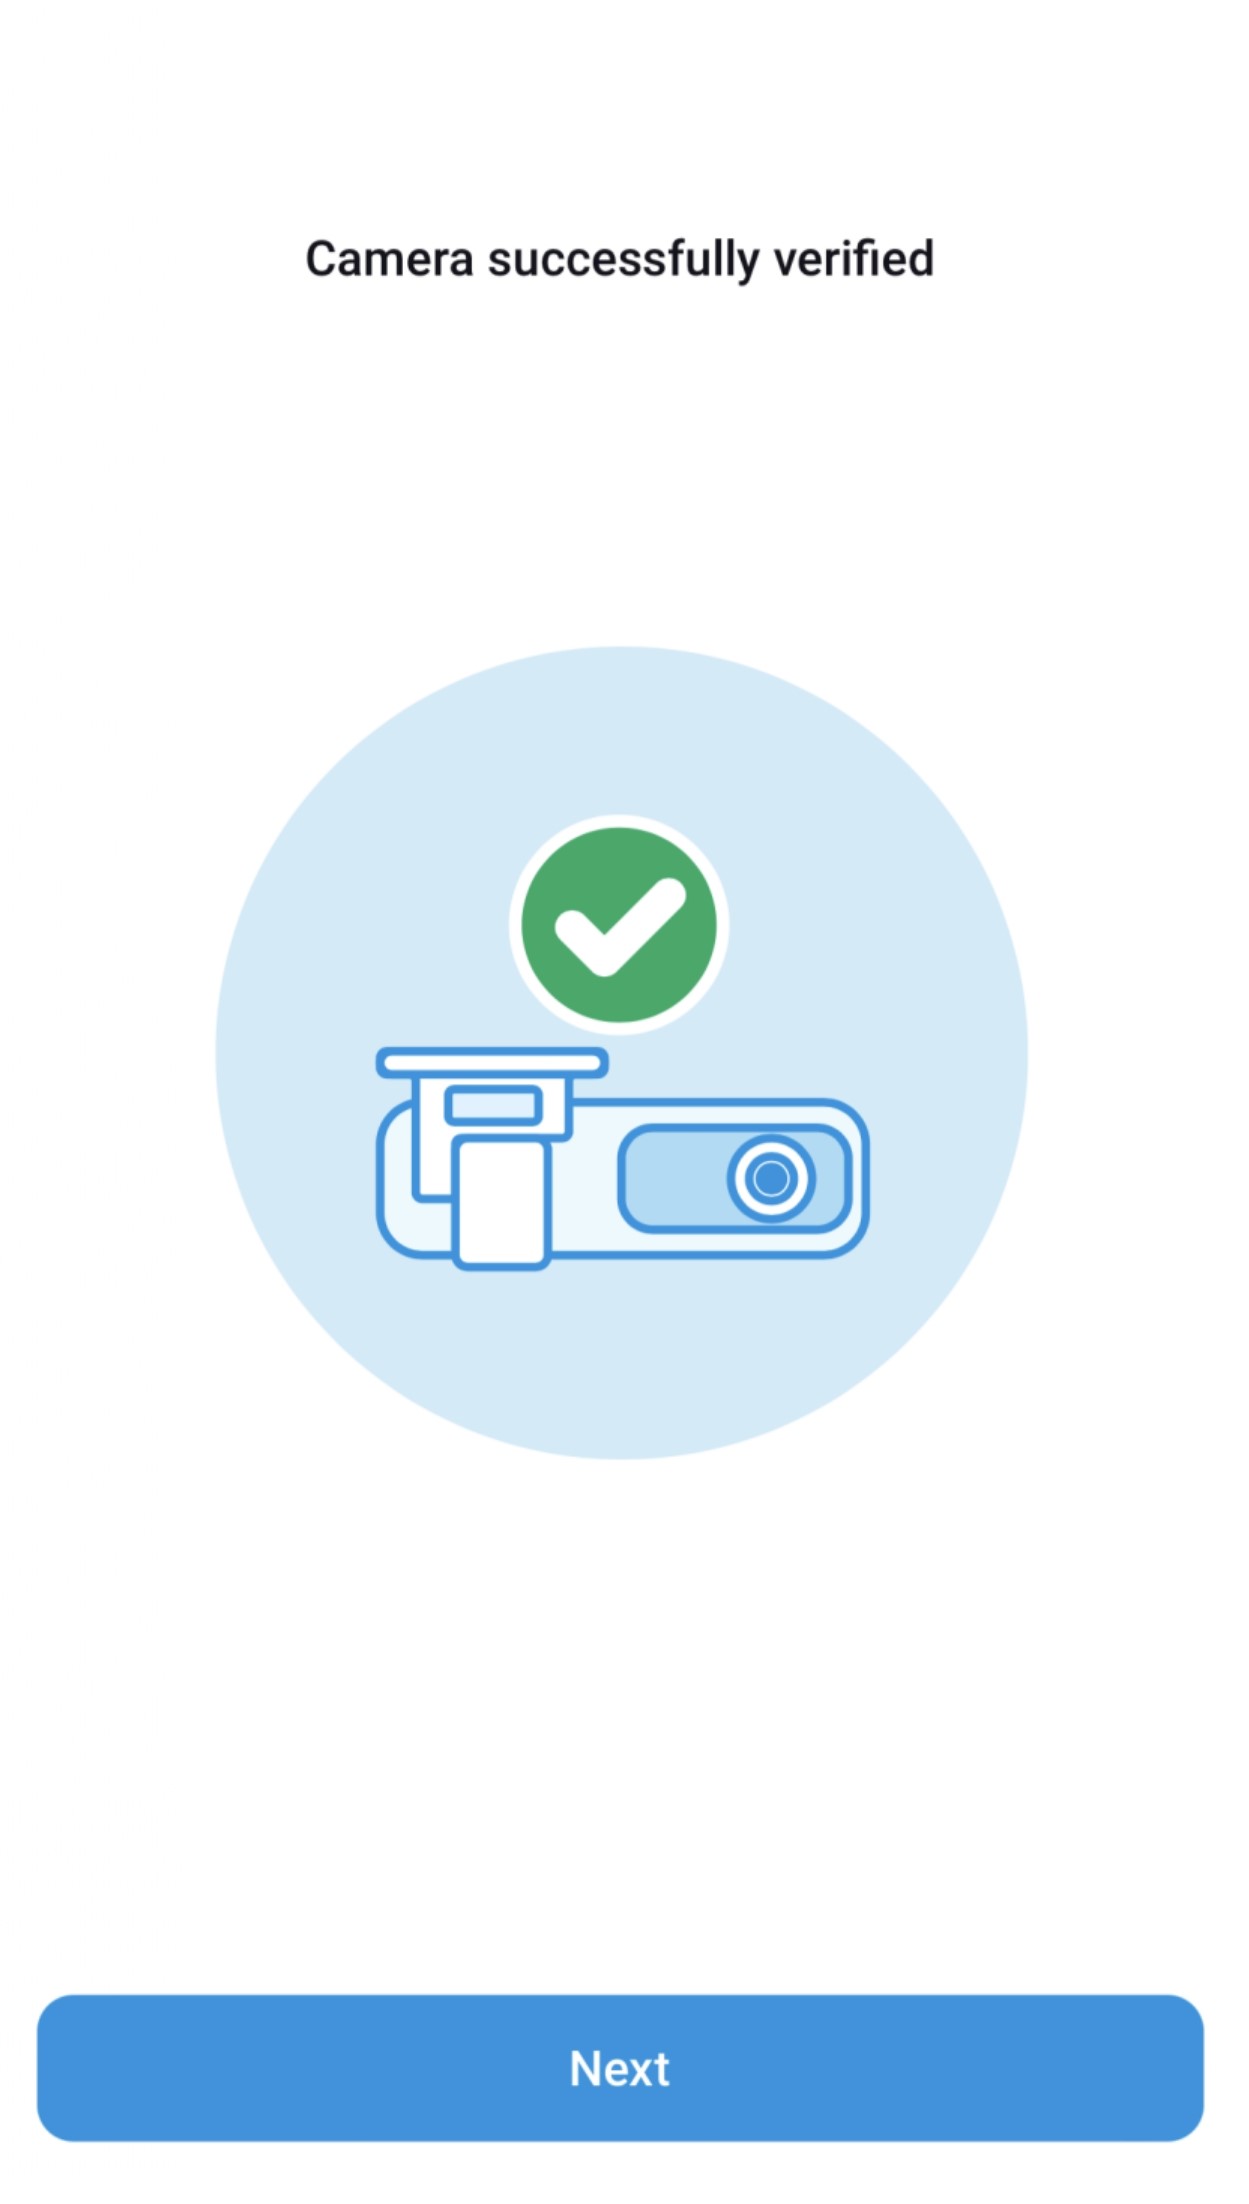
- Once successfully scanned, the camera is added.
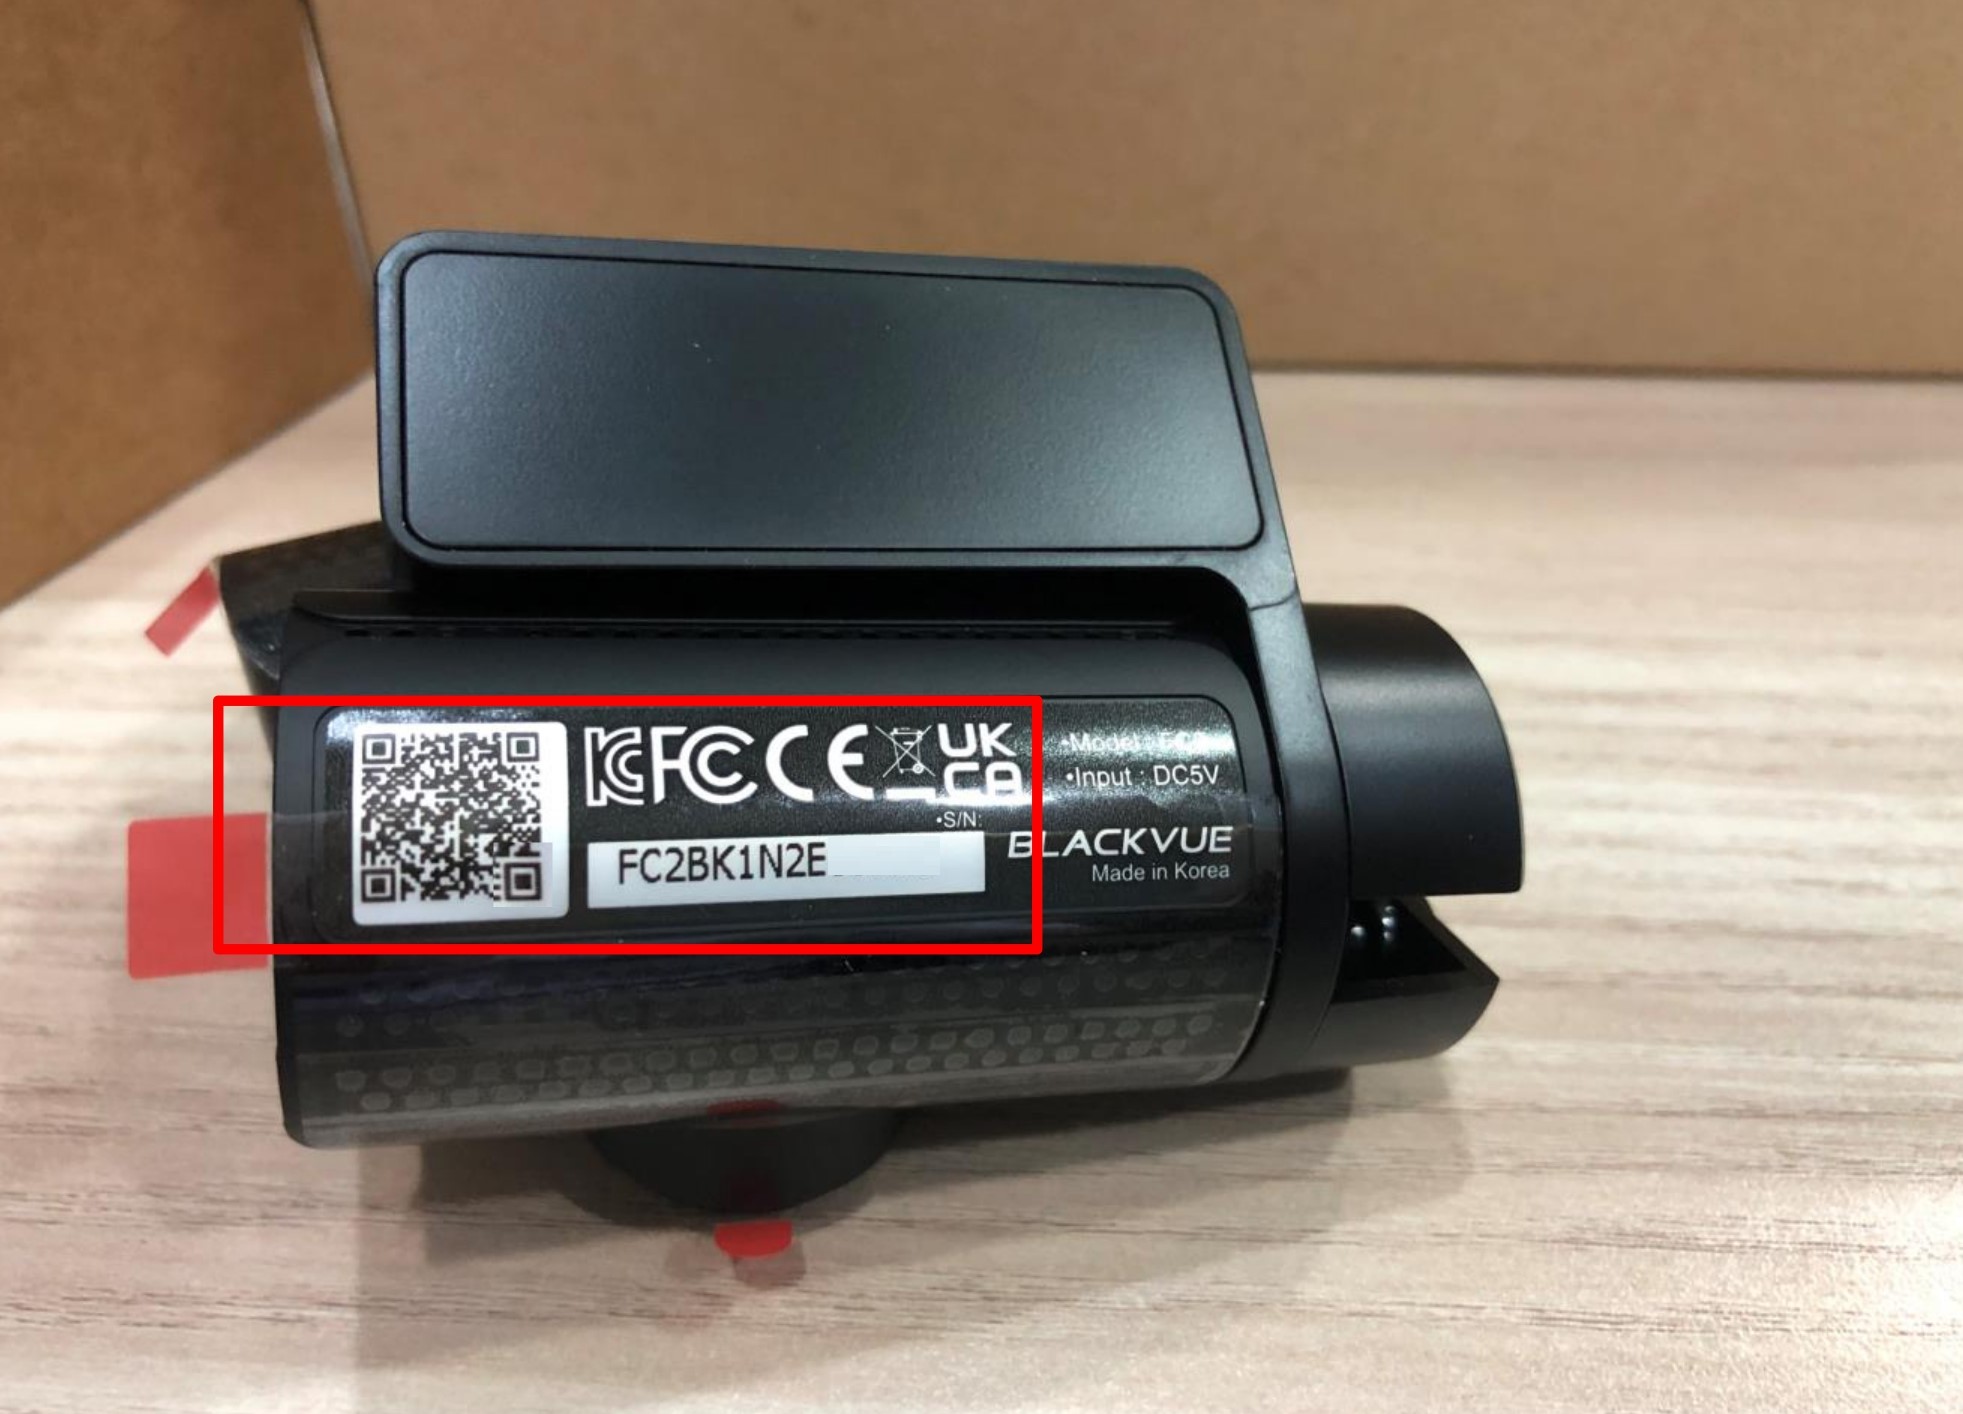
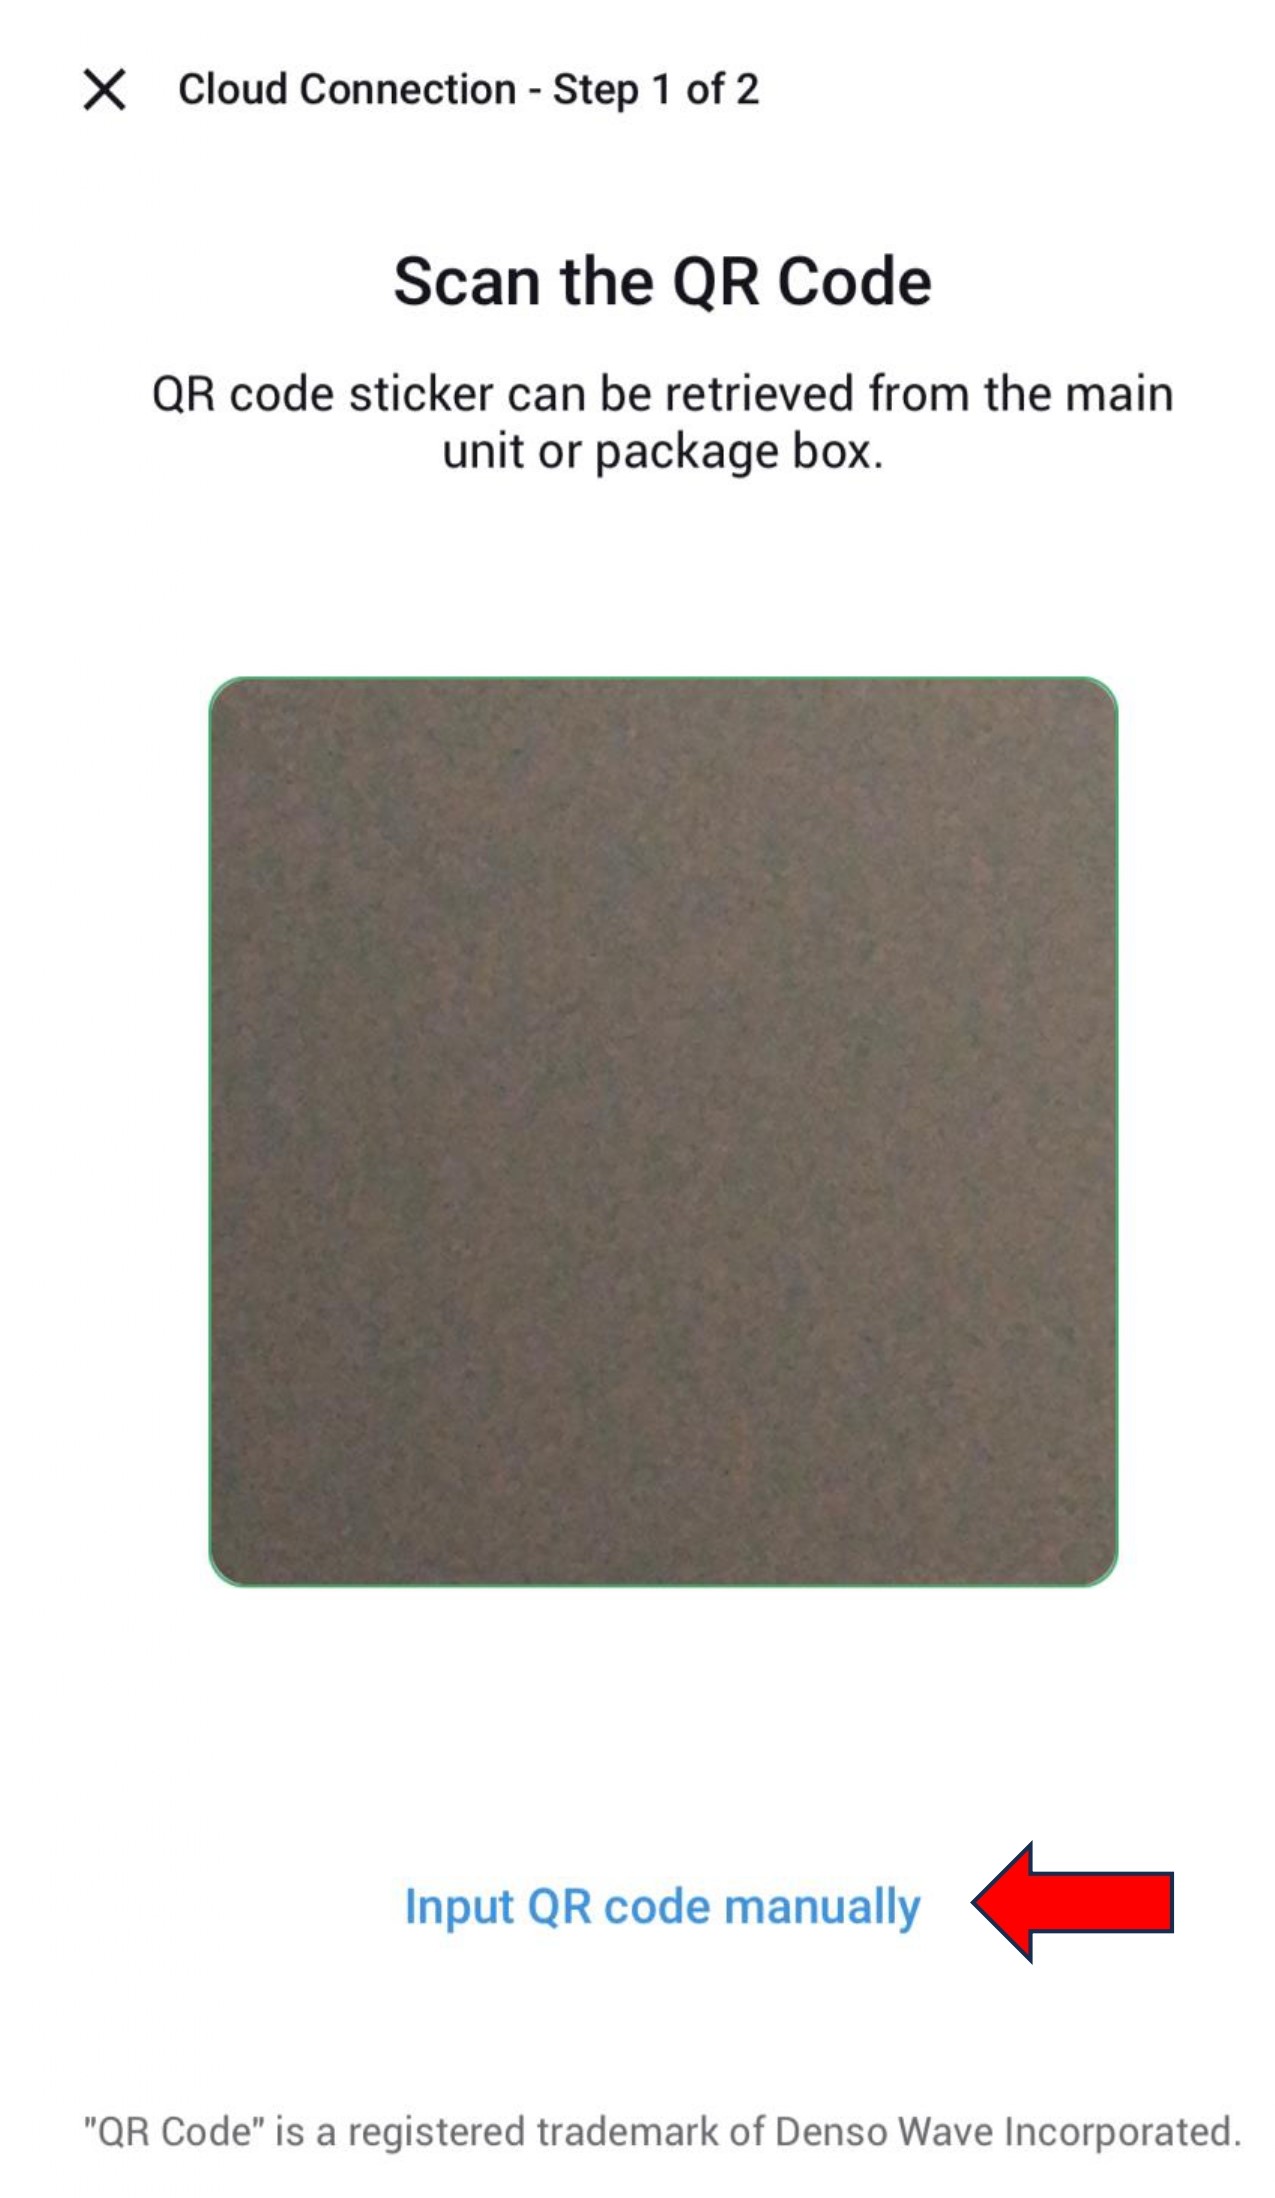
2.1.2 Manually Input QR Code
-
Instead of scanning the QR code, user can input the dashcam serial number manually.
- Serial number can be located at the main unit.
- Input the serial number of the dashcam.
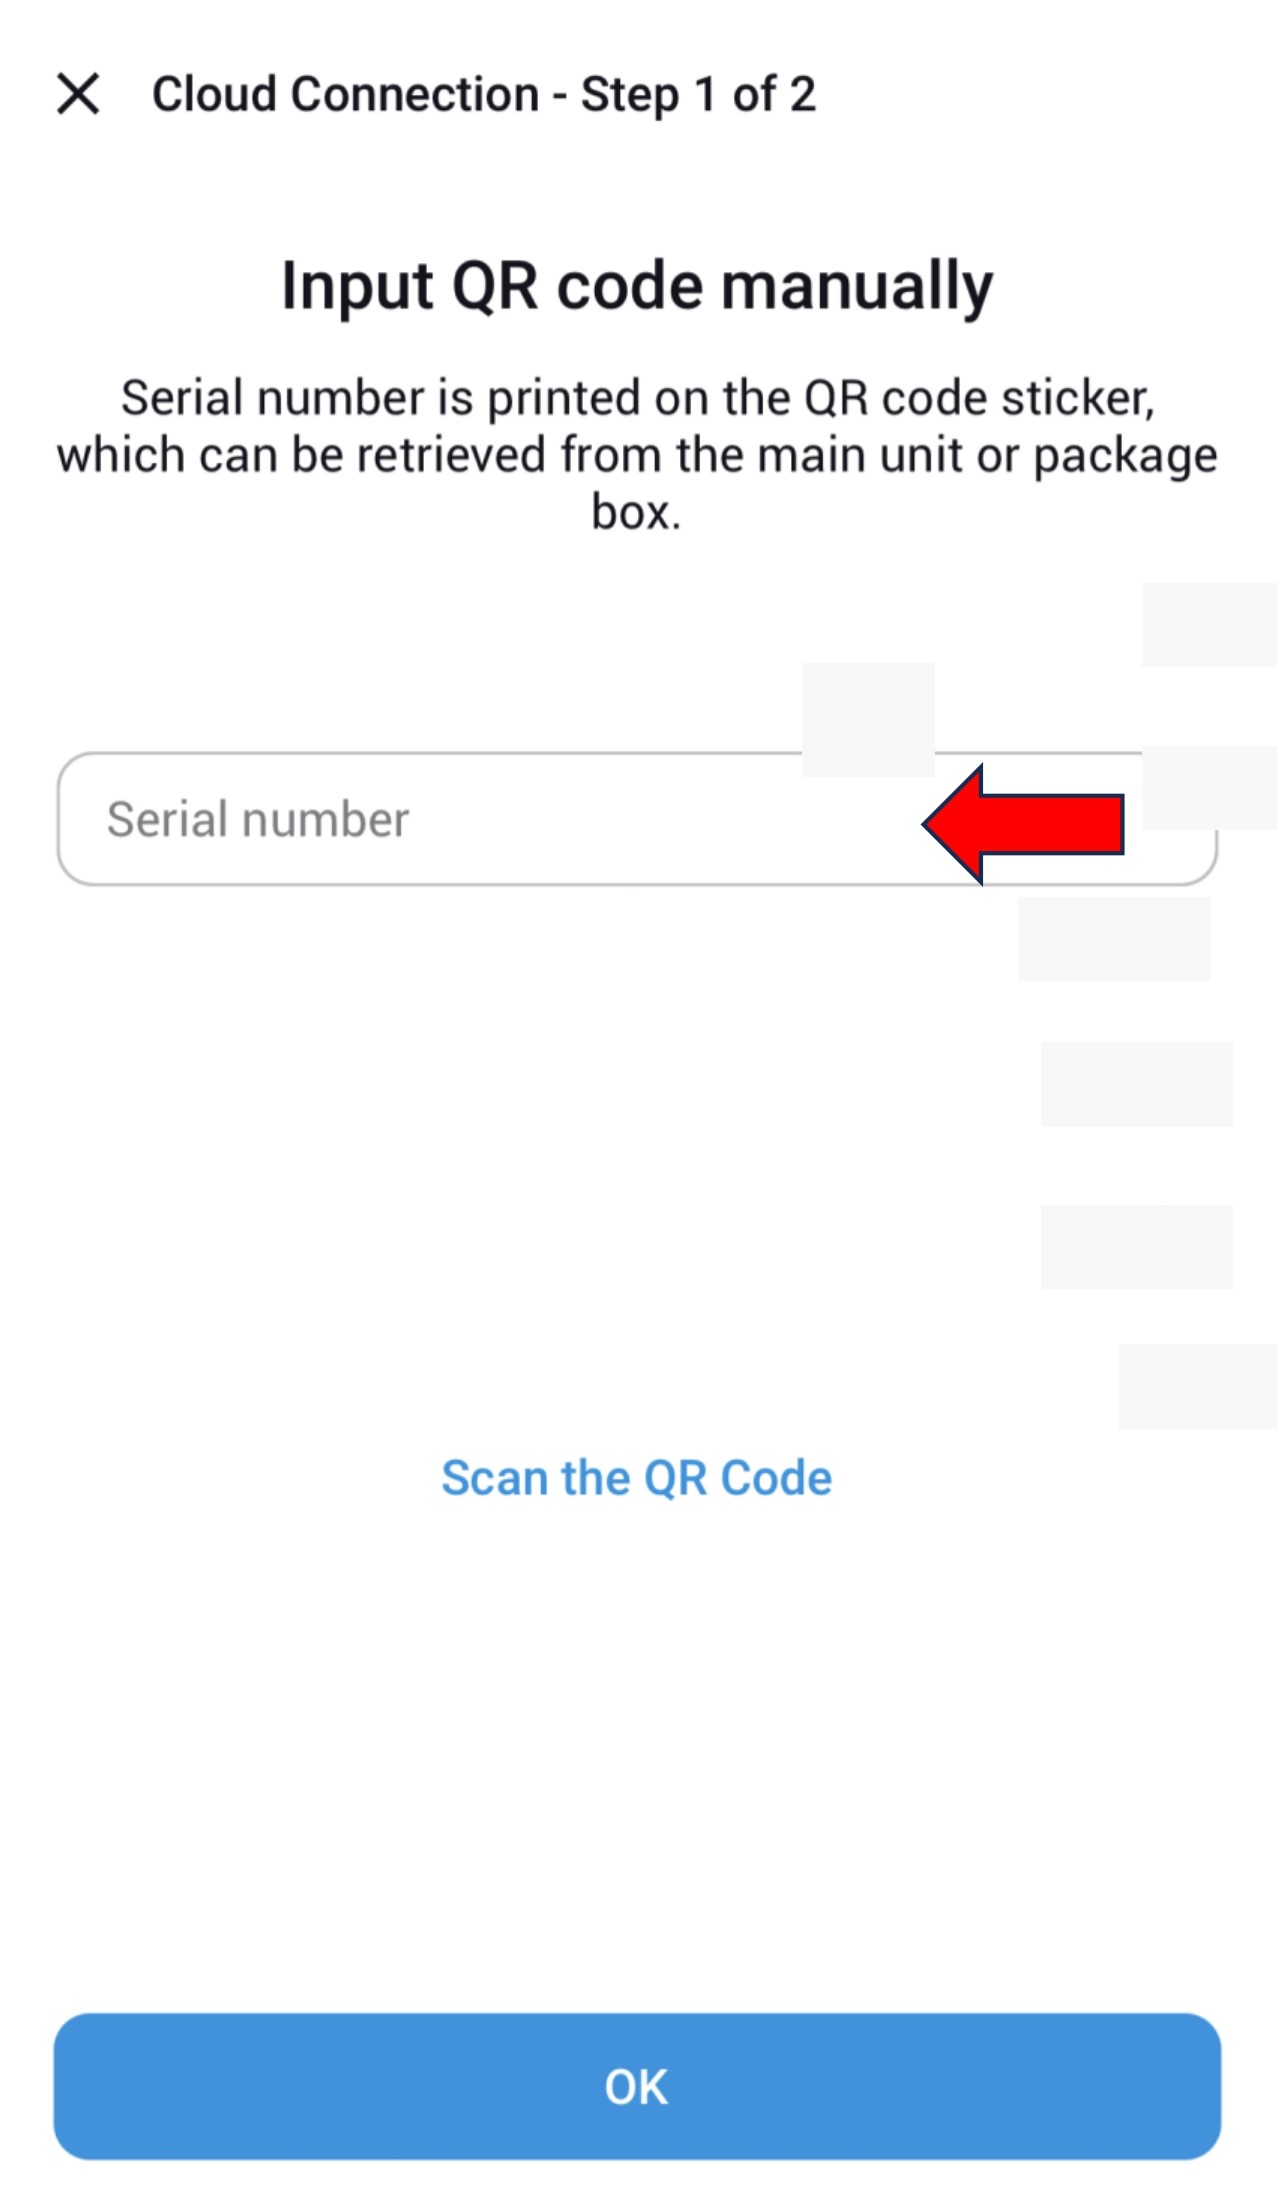
- Once successful, the camera is added
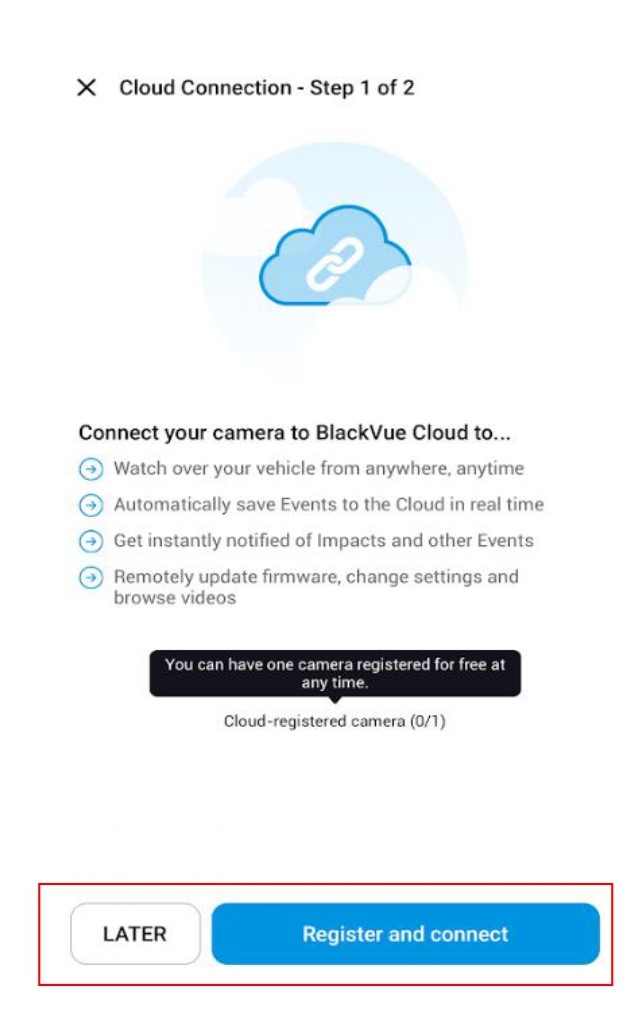
2.2 CLOUDS CONNECTION
- For user using Cloud features, the cloud connection can only be configured by logging in using an account.
1.2 TO LOG IN WITH AN ACCOUNT
- Click "Later" if do not wish to set the cloud connection settings.
Click "Register and connect" if wish to set the cloud connection settings.
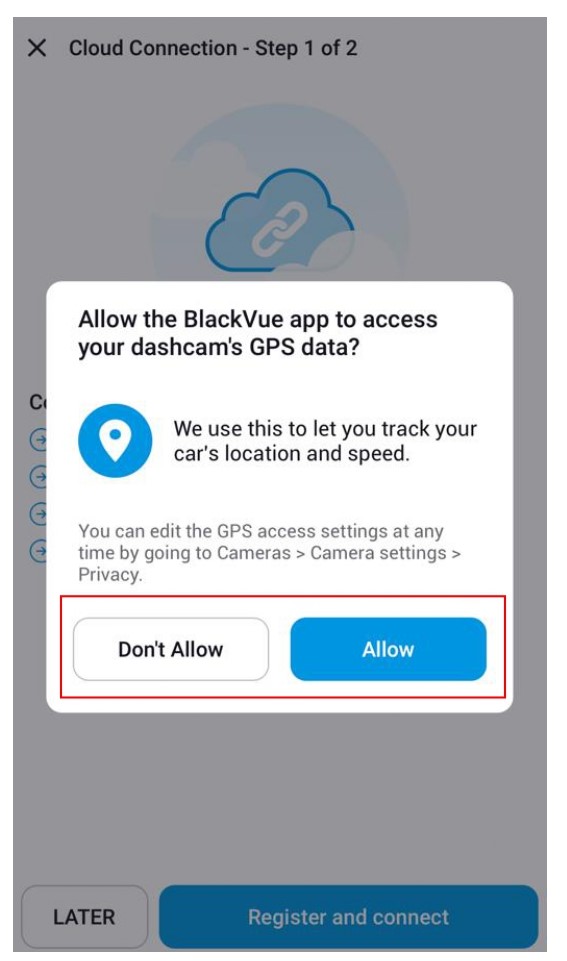
- Select "Allow" or "Don't Allow" for GPS speed and location tracking.
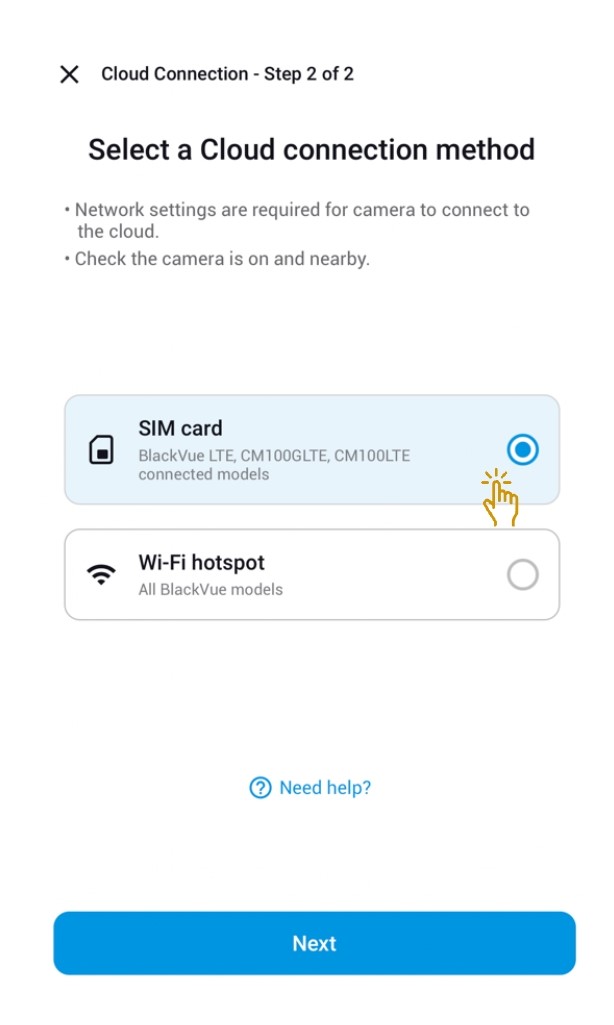
2.2.1 SIM Card Configuration
- Select "SIM card" to set the SIM card setting then click "Next".
Please ensure the SIM card is inserted into the Built-in SIM card reader or CM100LTE Module.
- New SIM card will be detected with the information shown.
- Input the SIM card Telco APN and click "Save".
Example: Telco: M1 APN: sunsurf
Telco: Singtel APN: e-ideas
Please refer to the below link for more Telco's APN
Telco's APN
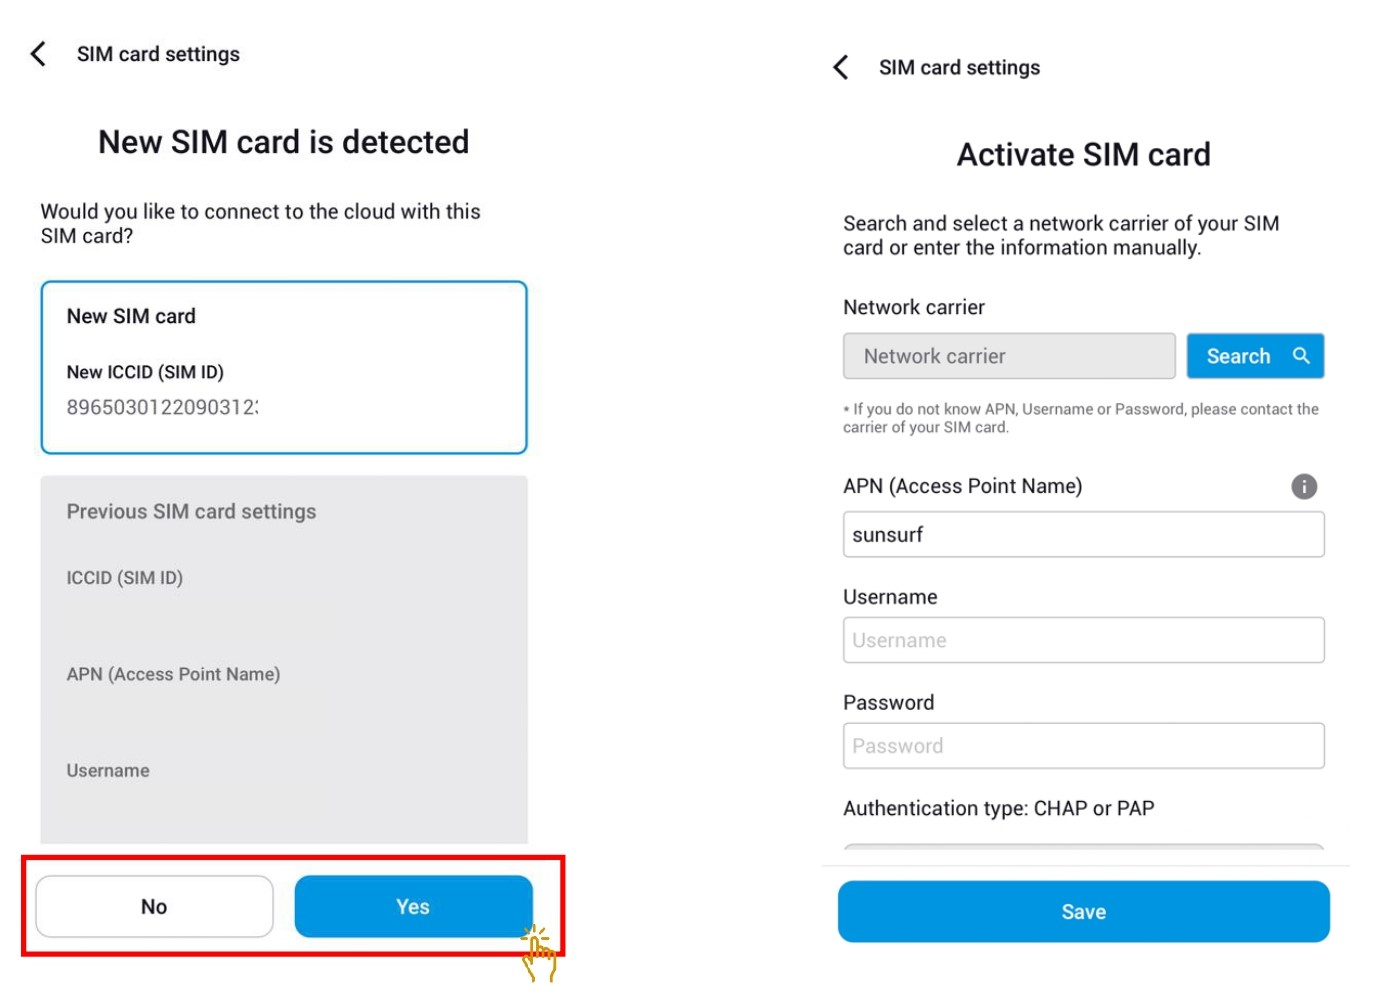
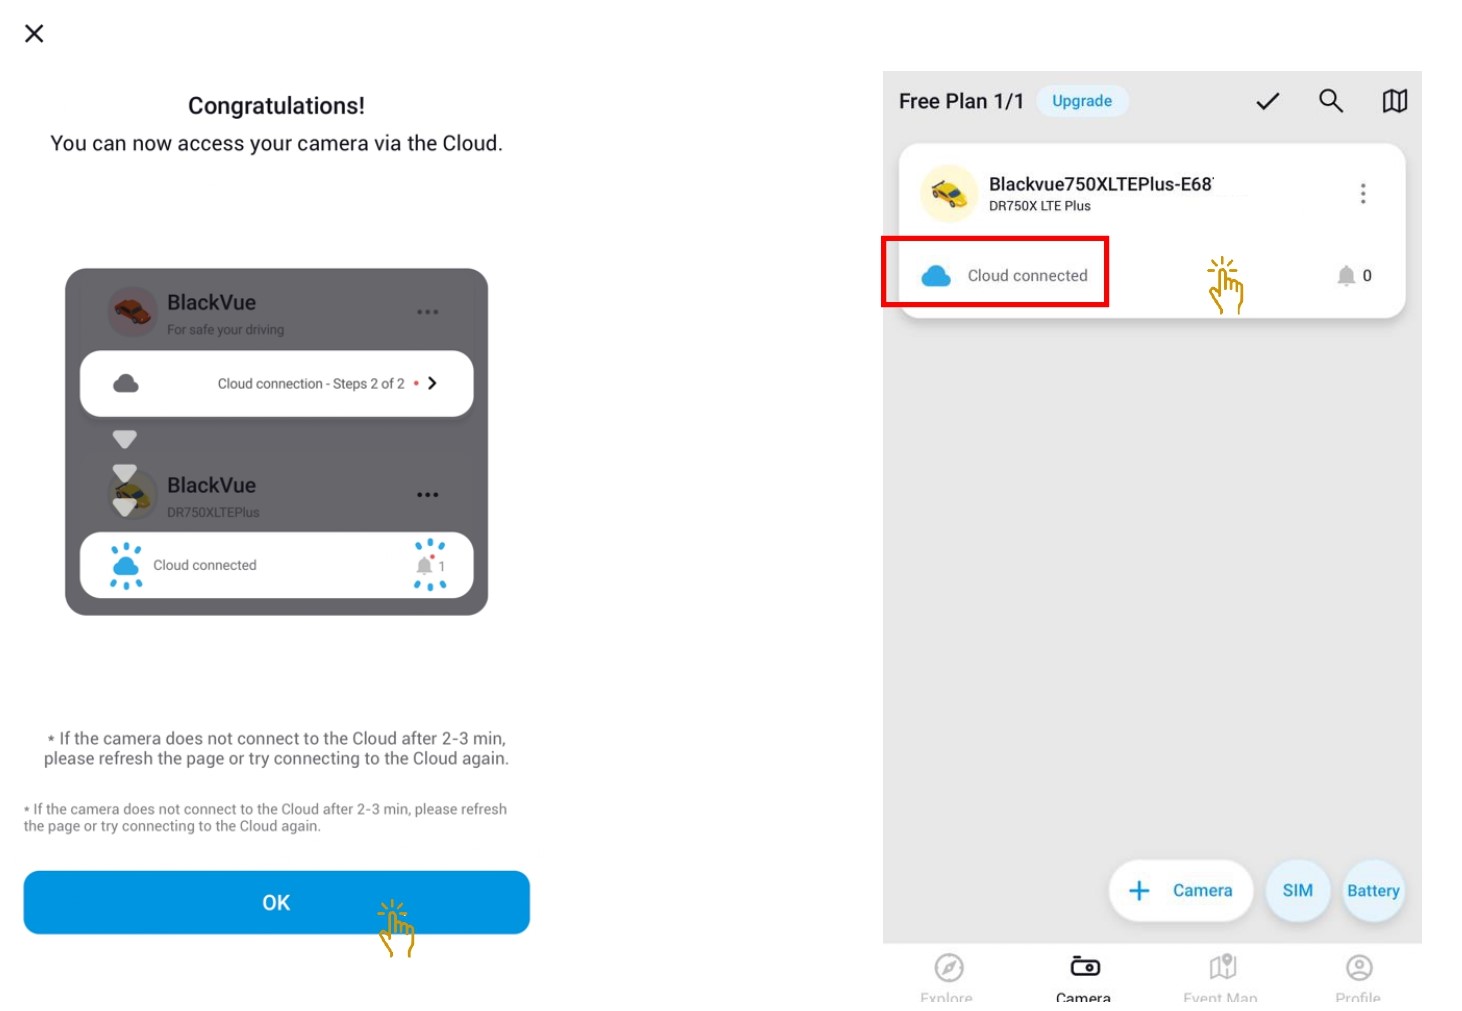
- Once SIM card is activated, cloud connection is established. Click "Ok".
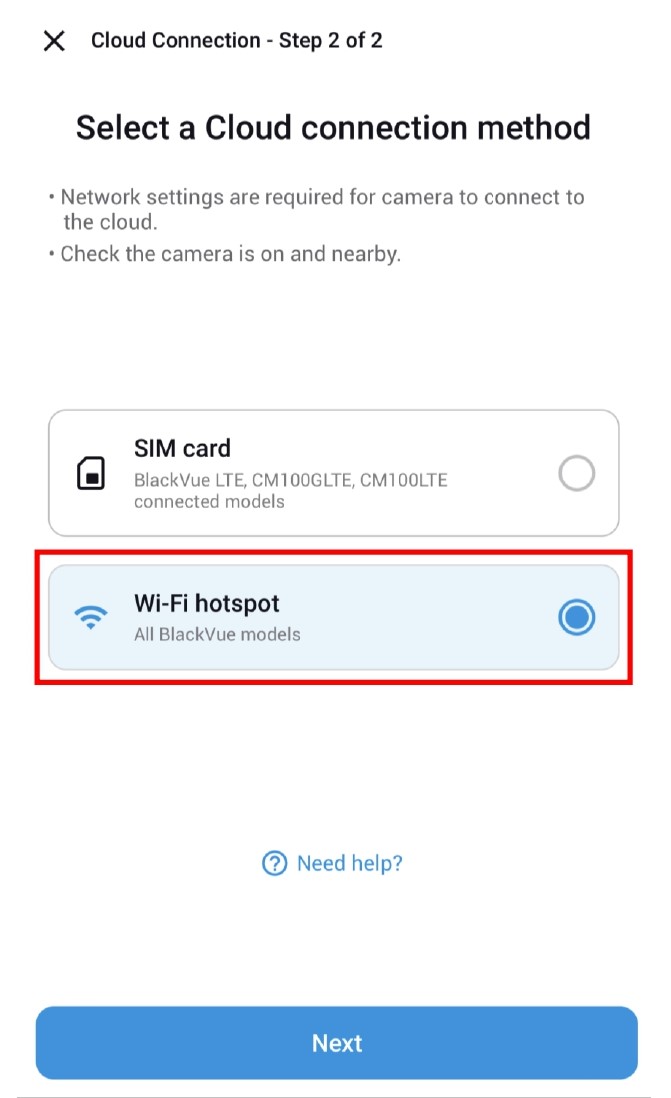
2.2.2 Wi-Fi Hotspot Configuration
- Select "Wi-Fi Hotspot" to configure then click "Next".
- Choose the Wi-Fi hotspot and input the password.
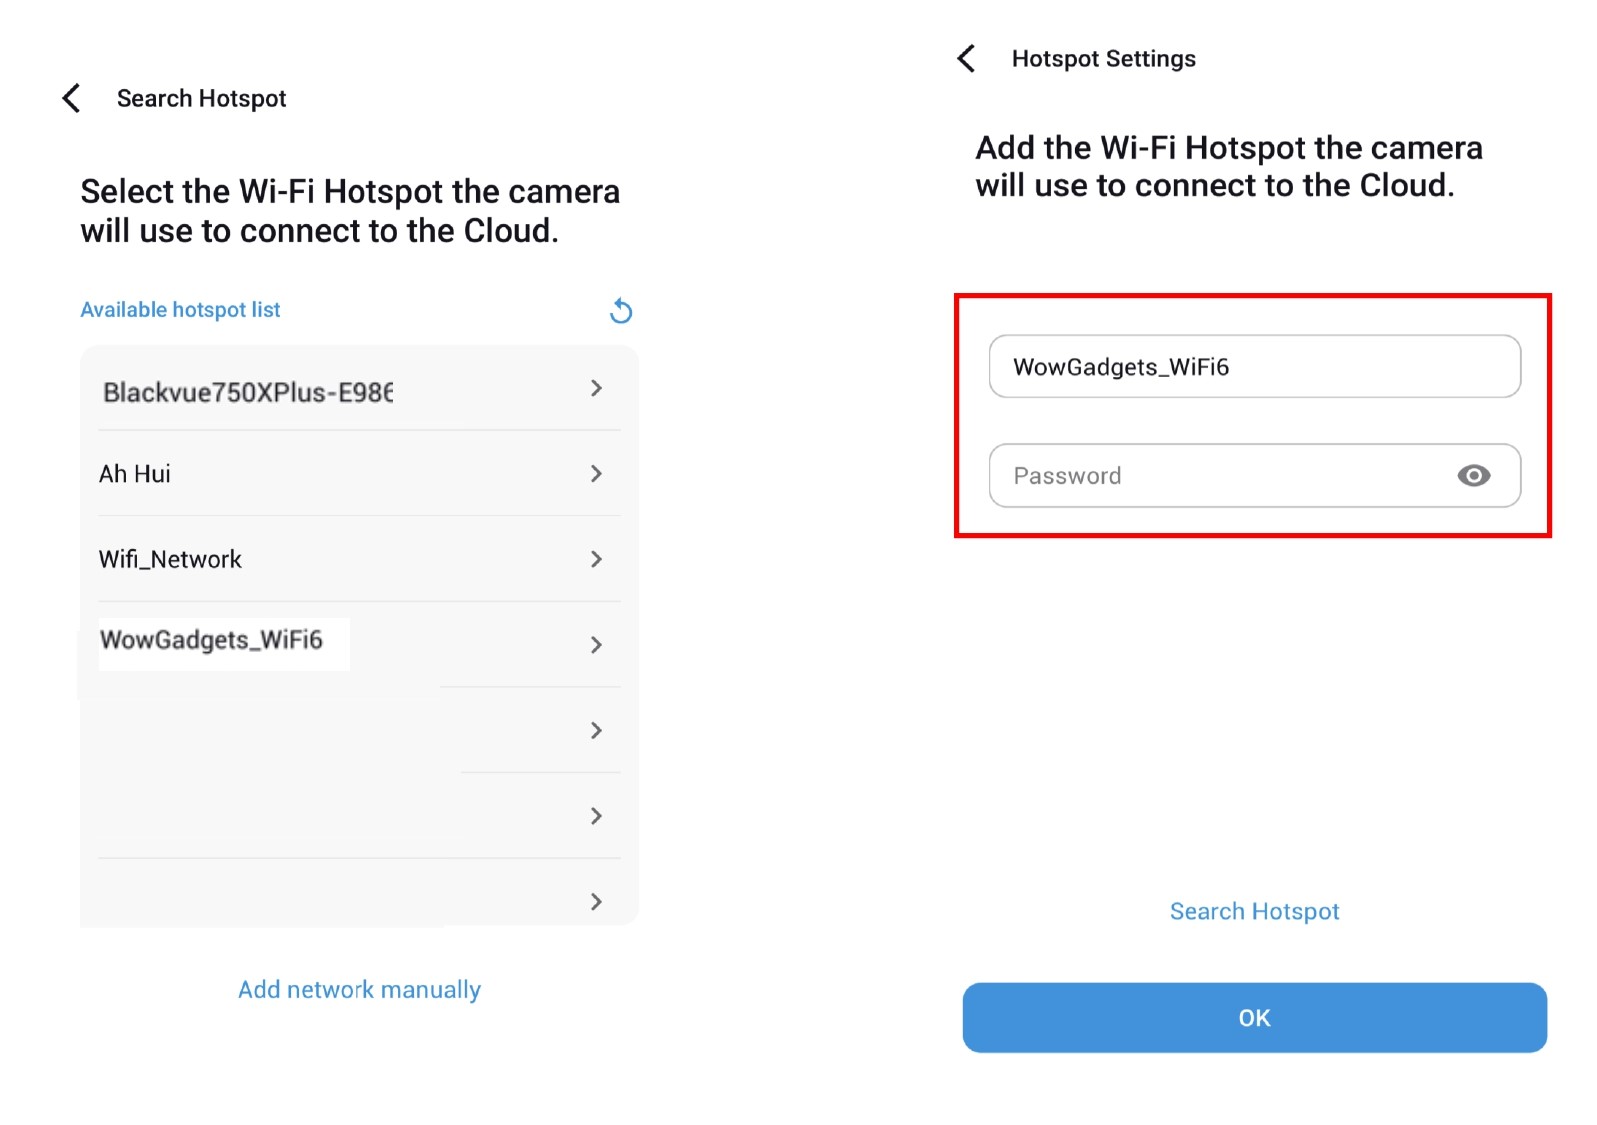
- Once connected, camera can accessed via cloud.
3. ADD CAMERA - WI-FI MODELS BLACKVUE DASHCAM
3.1 STEPS ON ADDING BLACKVUE DASHCAM - WI-FI METHODS
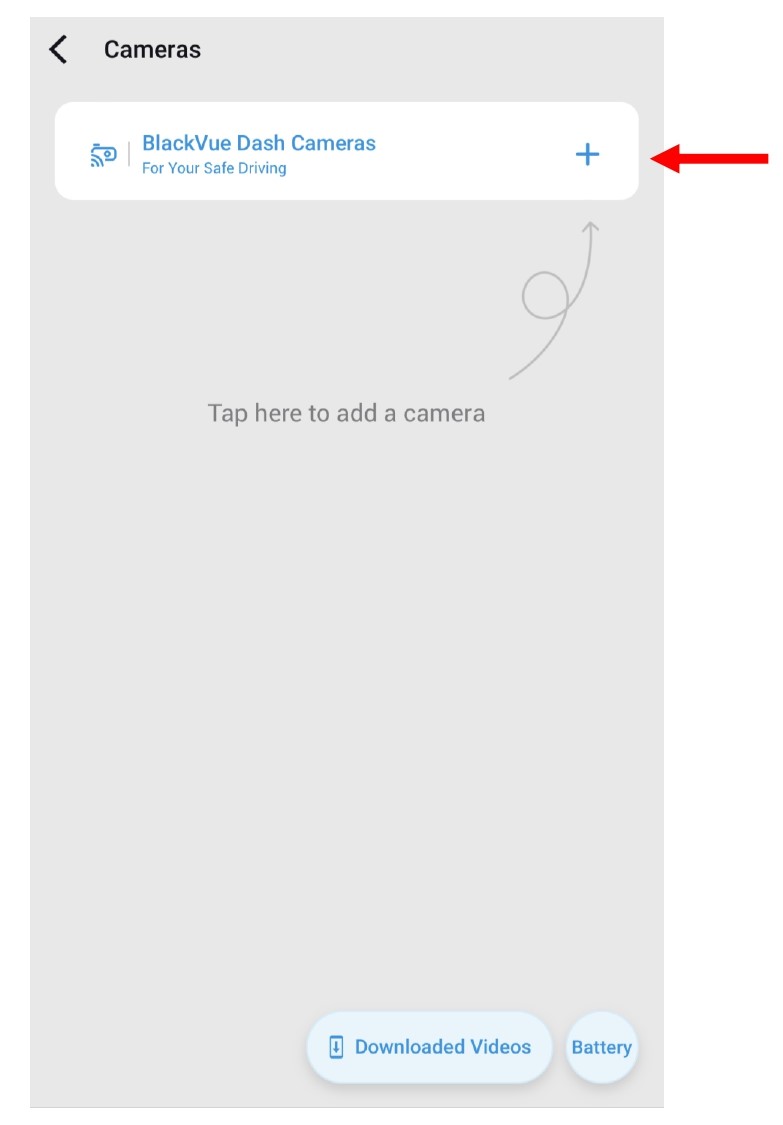
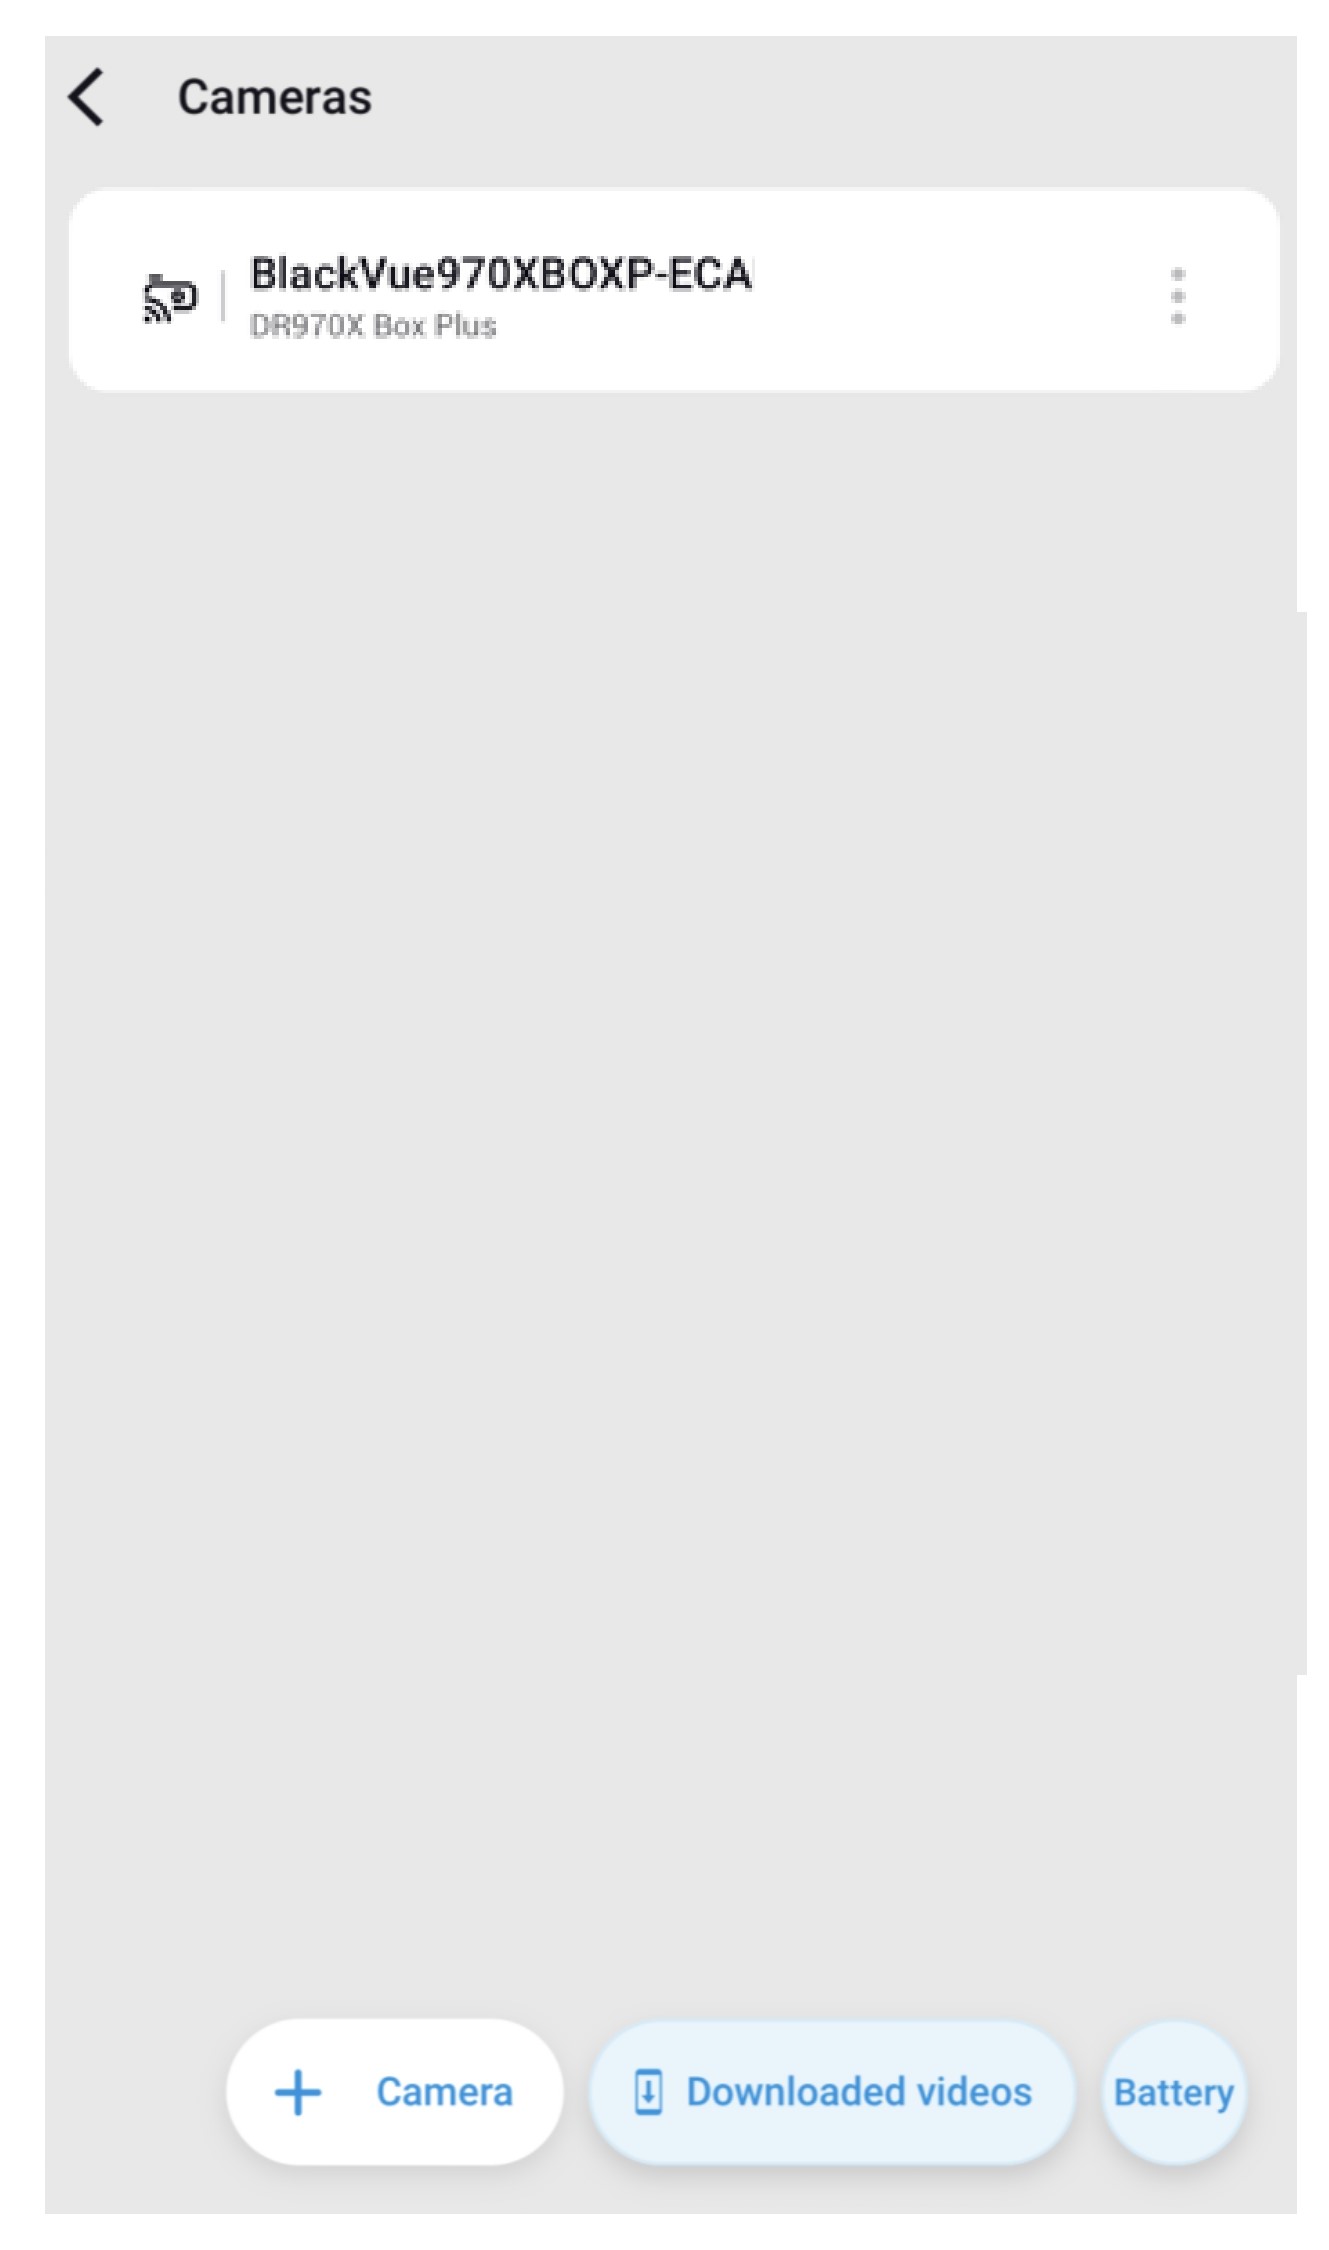
- Click on the menu bar "Camera"
- Click on add camera "+Camera"
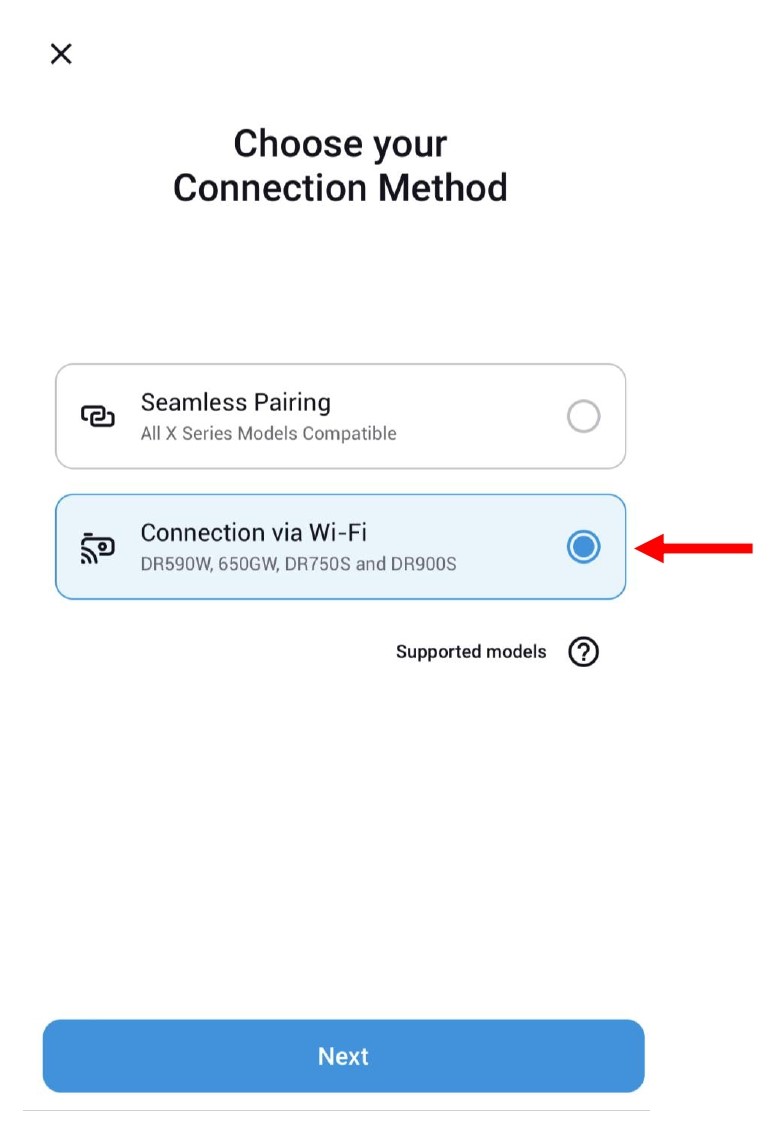
- Select "Wi-Fi Models" only for dashcam that do not have seamless pairing feature.
Dashcams that do not have seamless pairing feature : DR590X, DR590W, DR650, DR750S ..
DR970X BOX-2CH Plus also can be added using Wi-Fi methods.
- Once selected, click "Next"
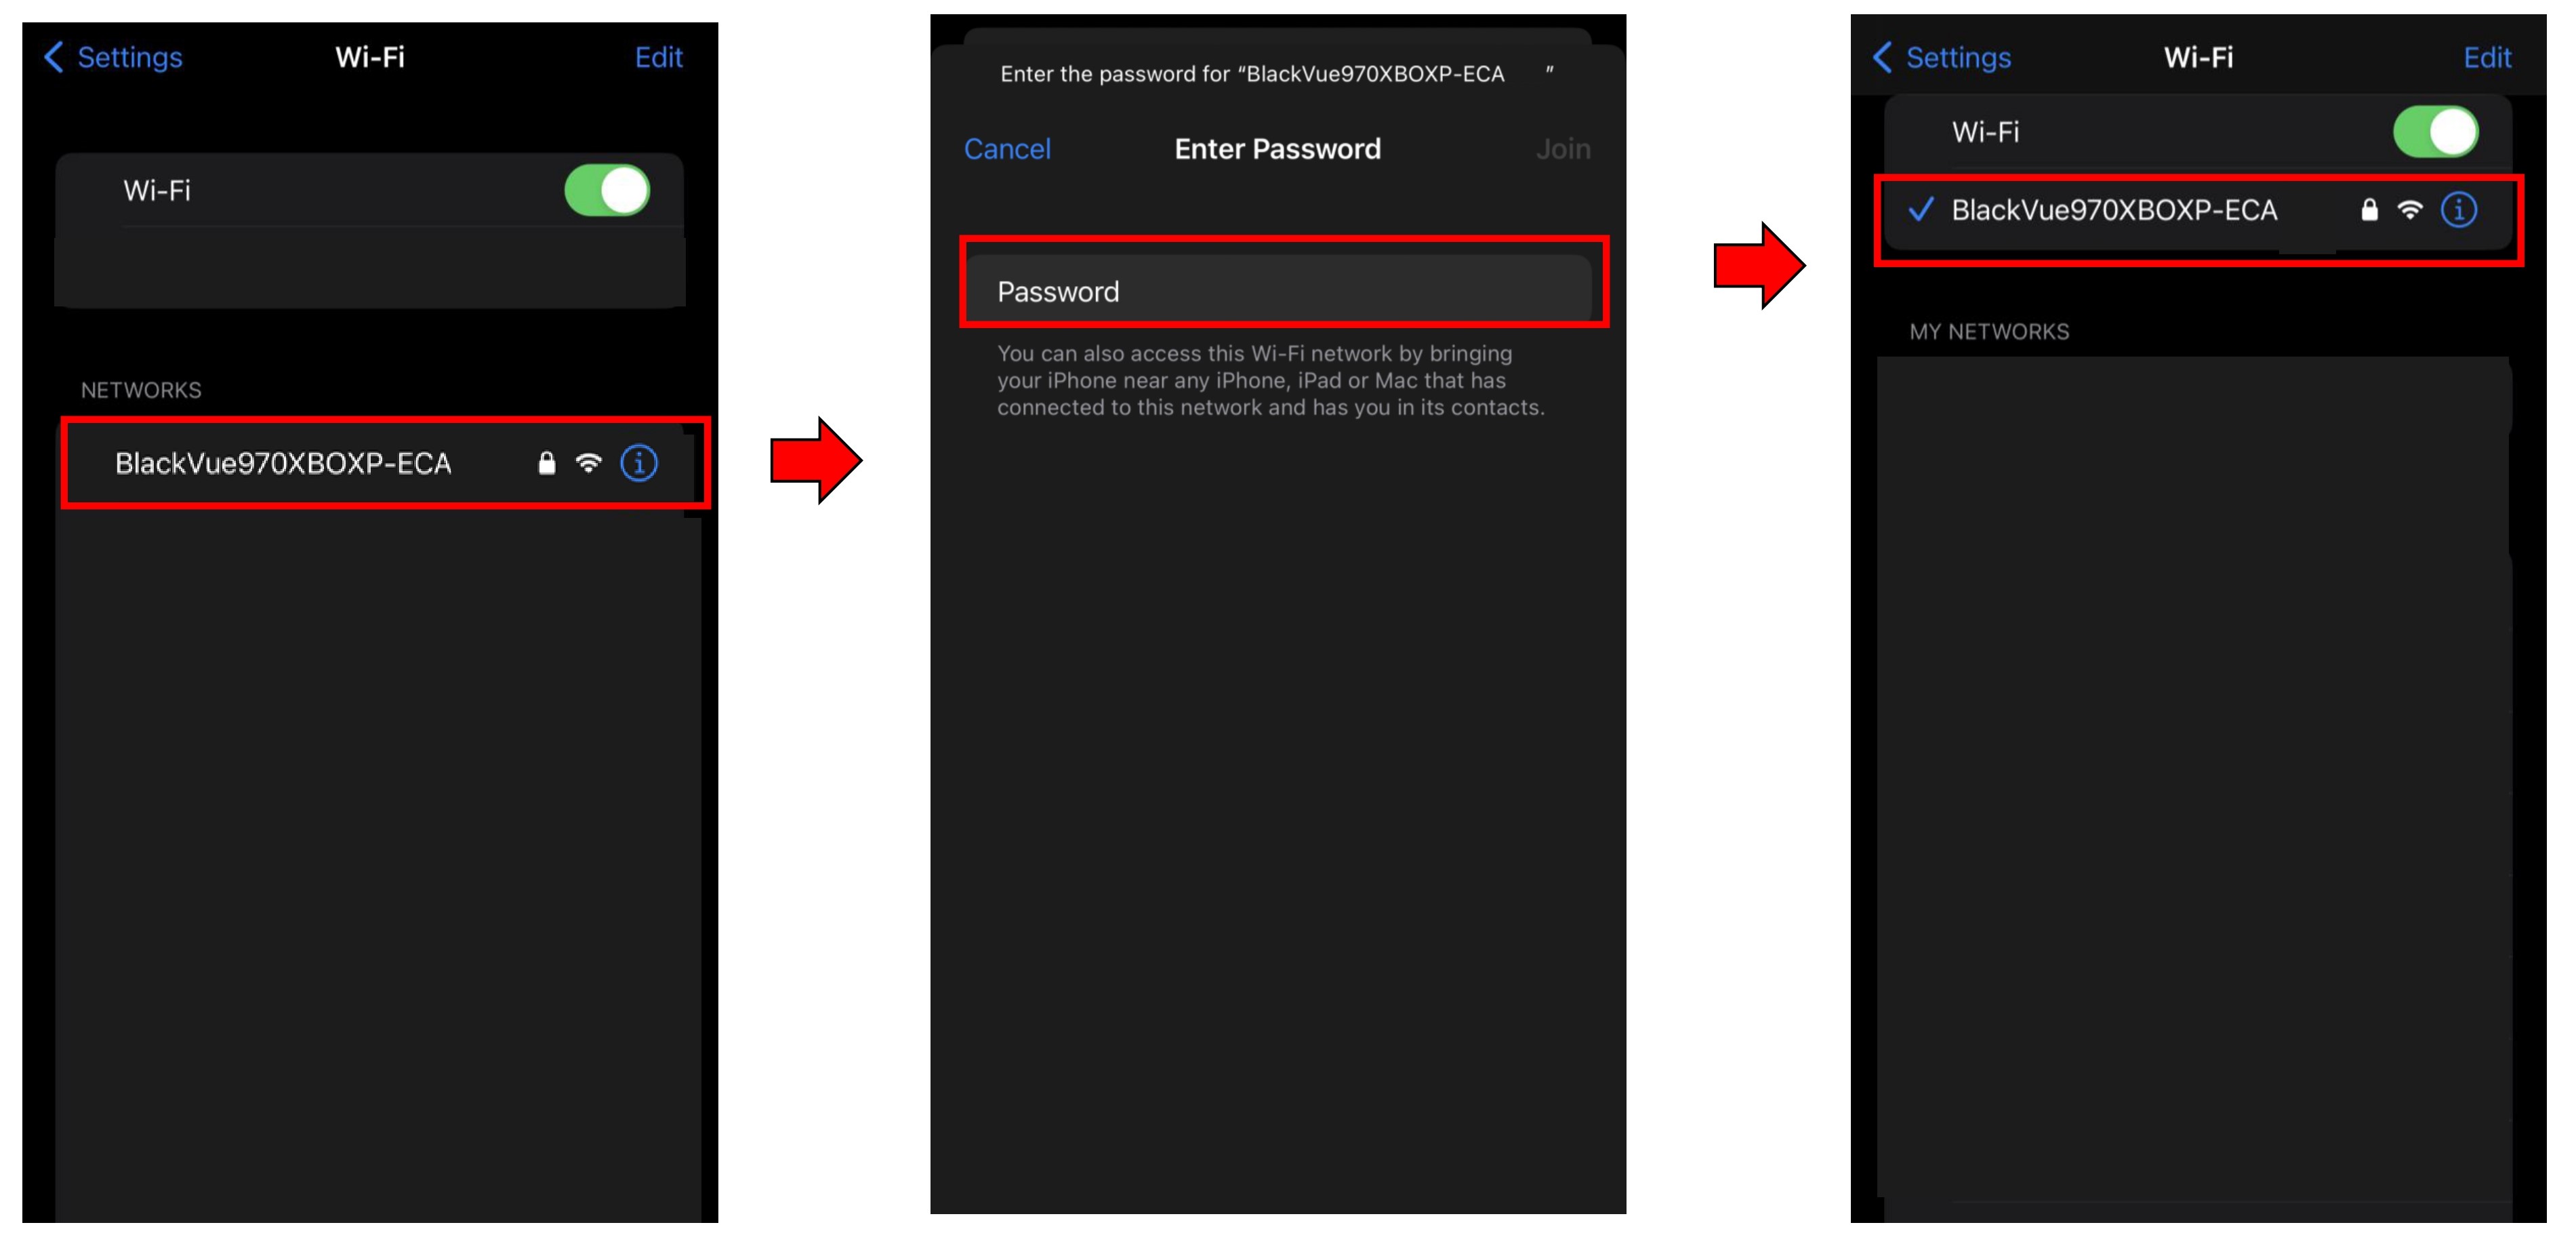
- Before clicking "Continue", Go to -Phone Setting - Wi-Fi connection
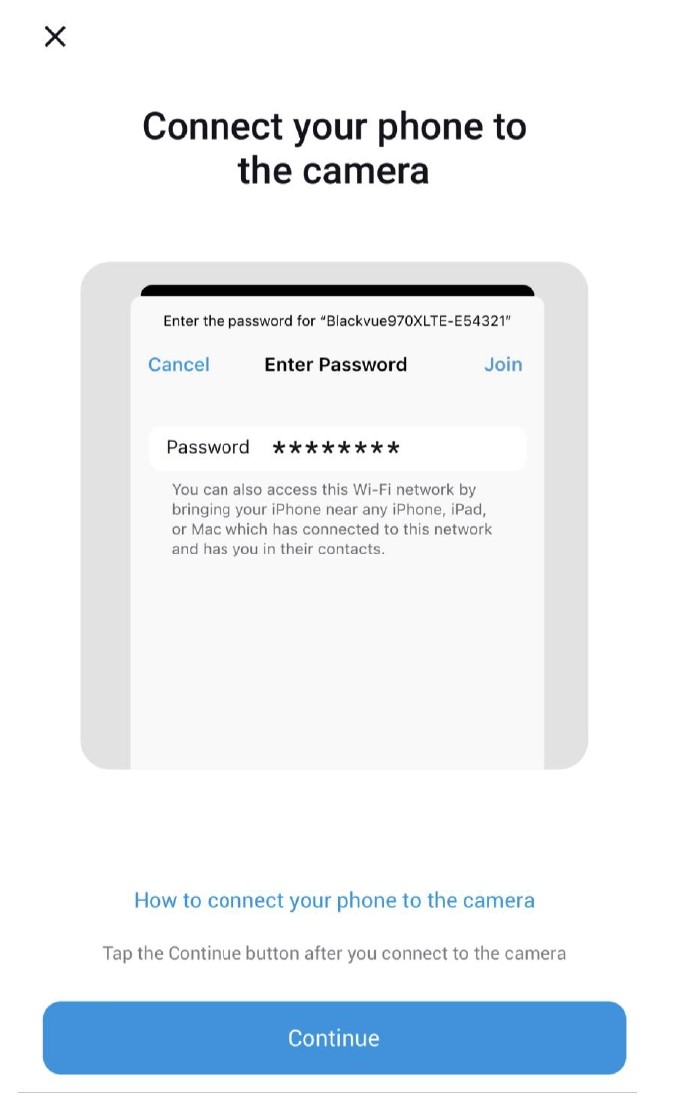
- Find the dashcam SSID that need to be connected.
- Input the password for the selected dashcam.
Password can be found at the main unit.
- Dashcam is connected once password is verified.
- Go back BlackVue App and click "Continue".
- The camera is successfully added in the BlackVue App camera list.
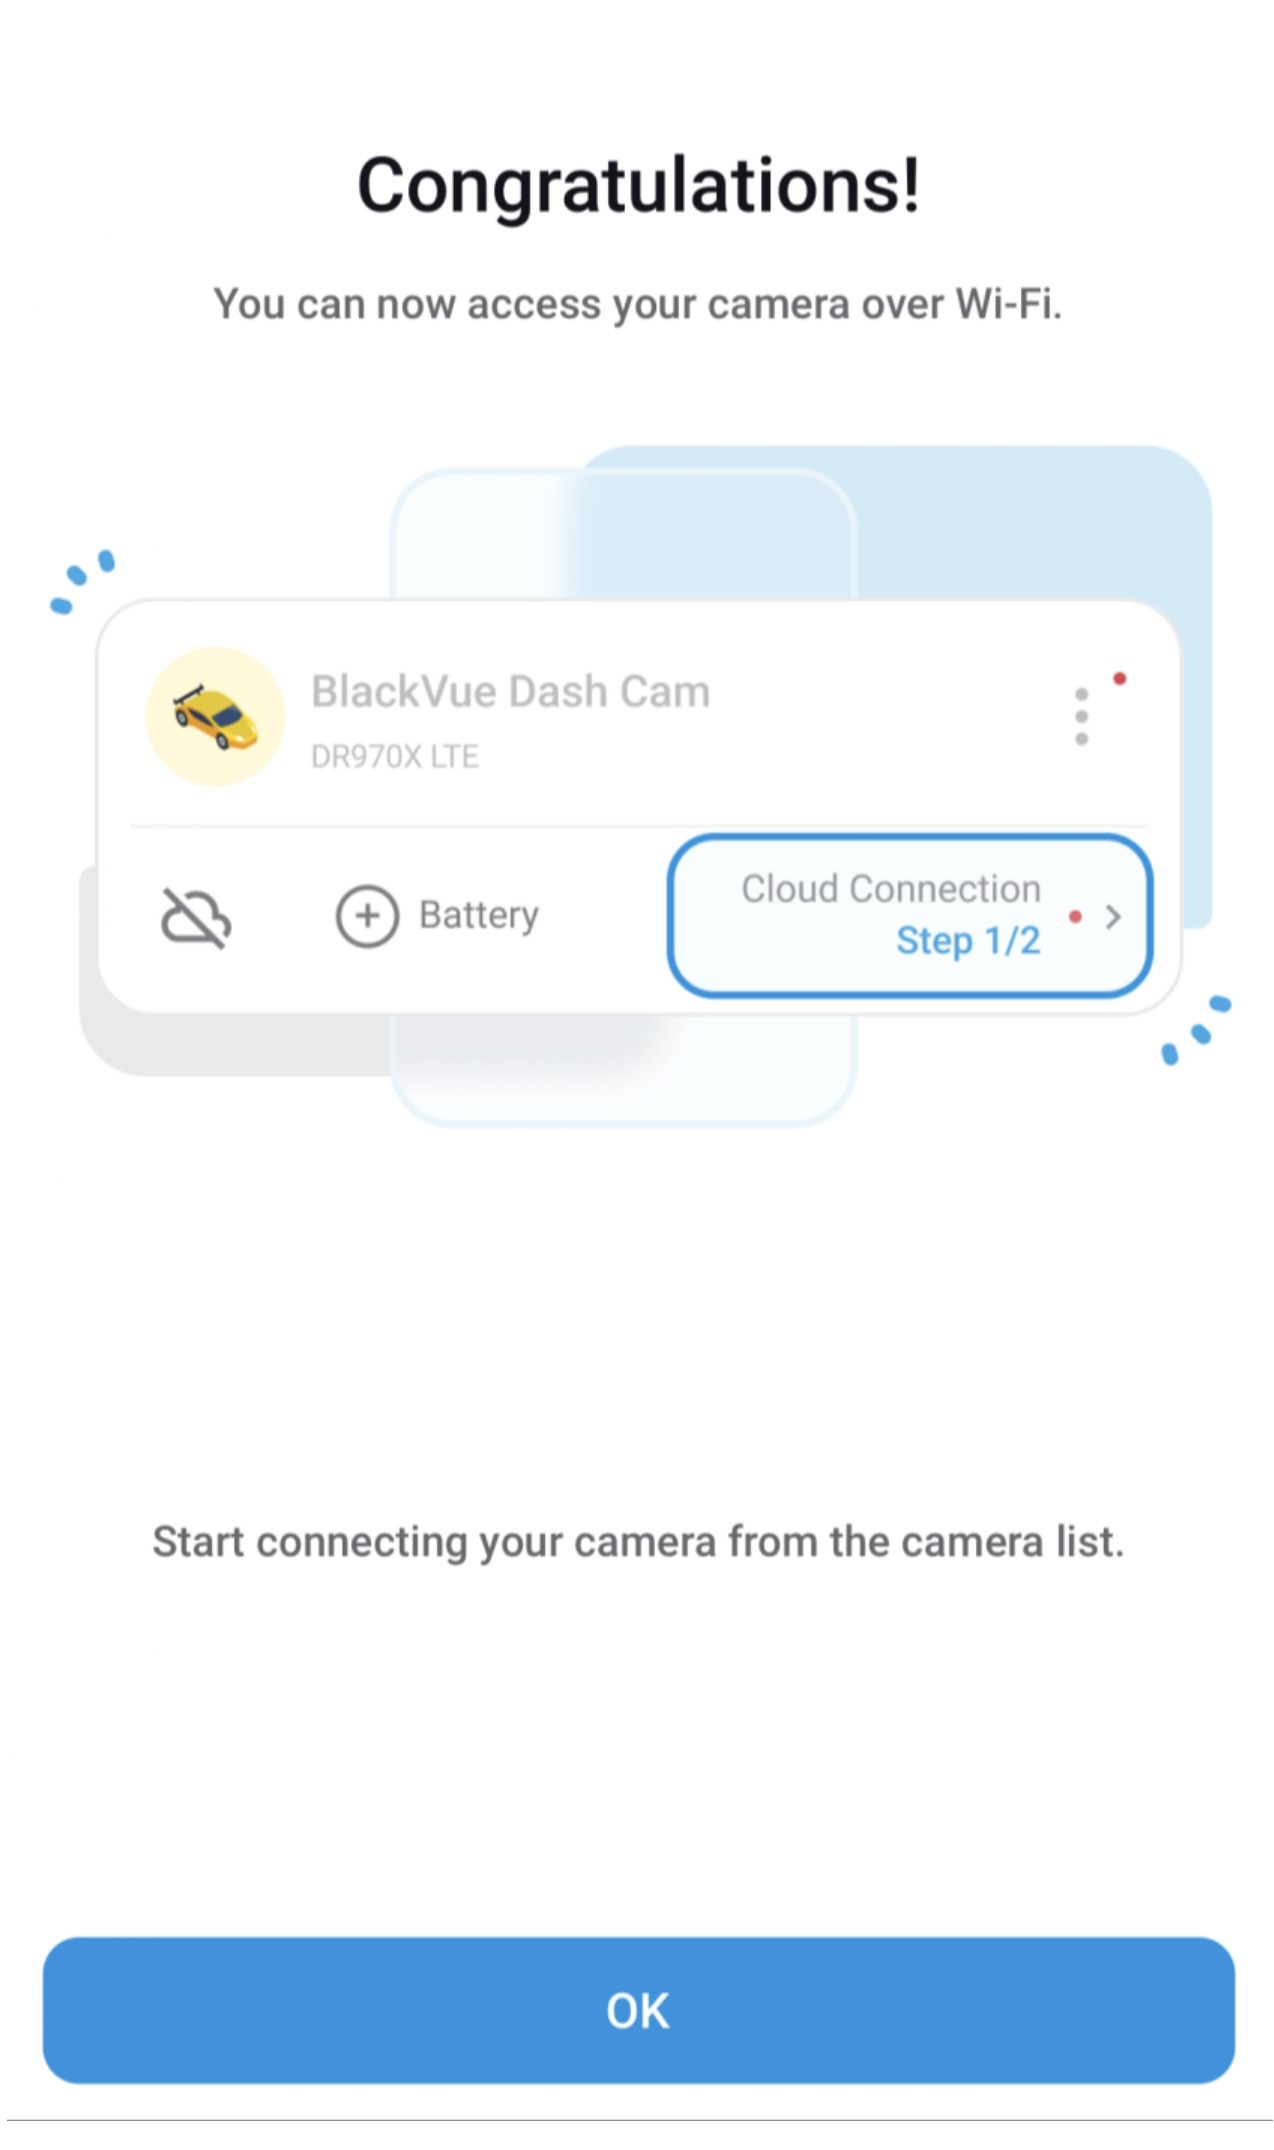
- Click on the added camera to access the camera's recorded videos and settings.
4. QUICK SETTINGS
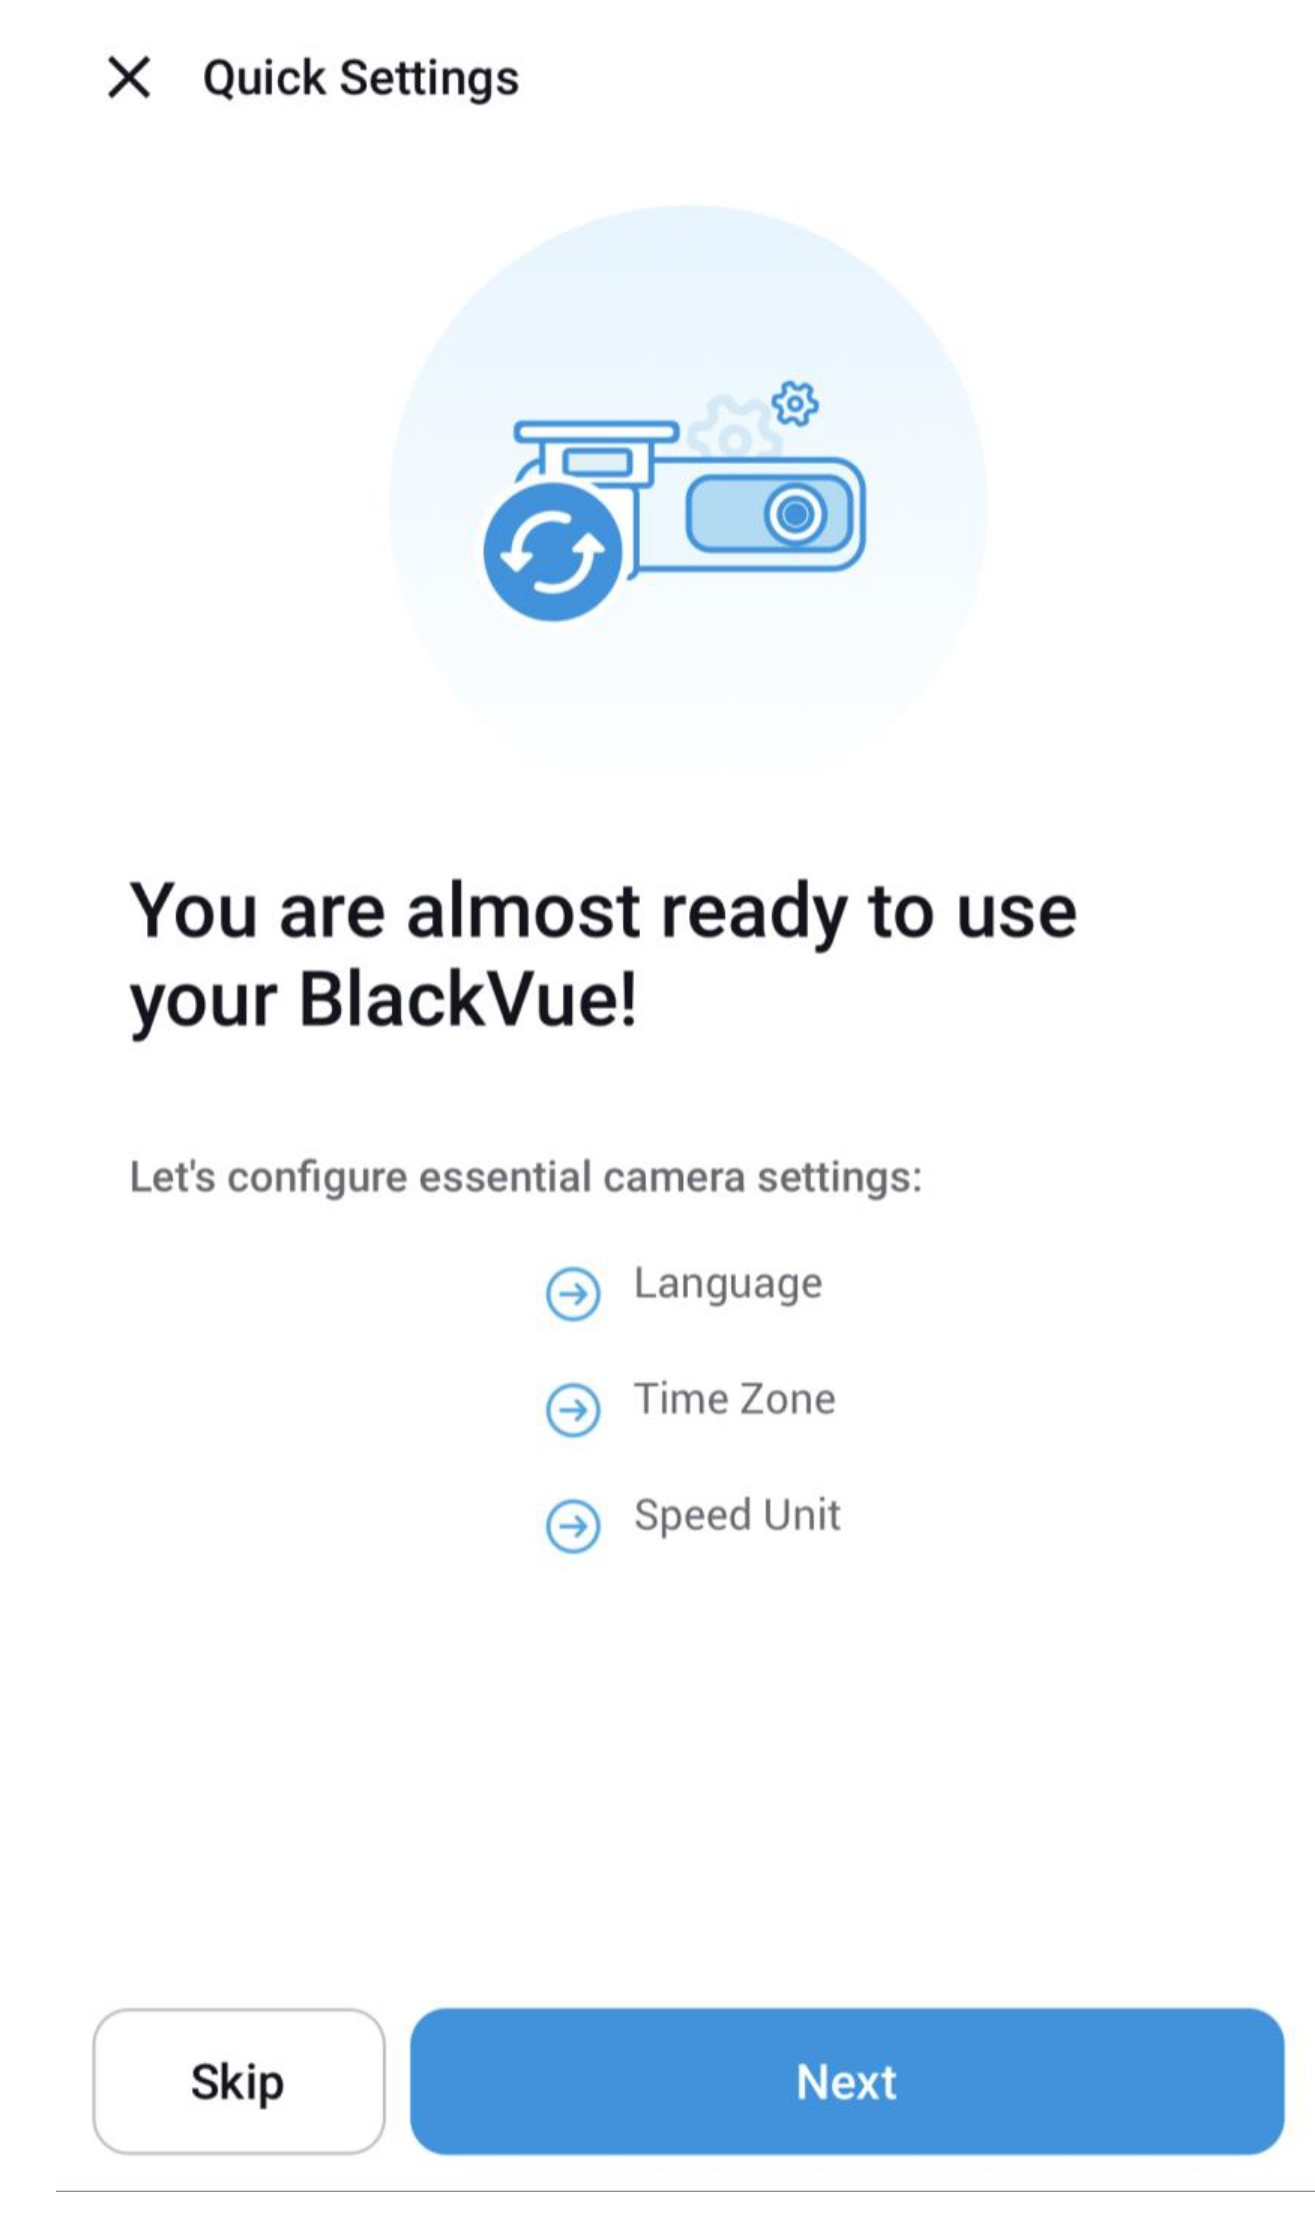
4.1 OVERVIEW QUICK SETTINGS
- Quick settings allow user to choose your firmware language, time zone and speed unit.
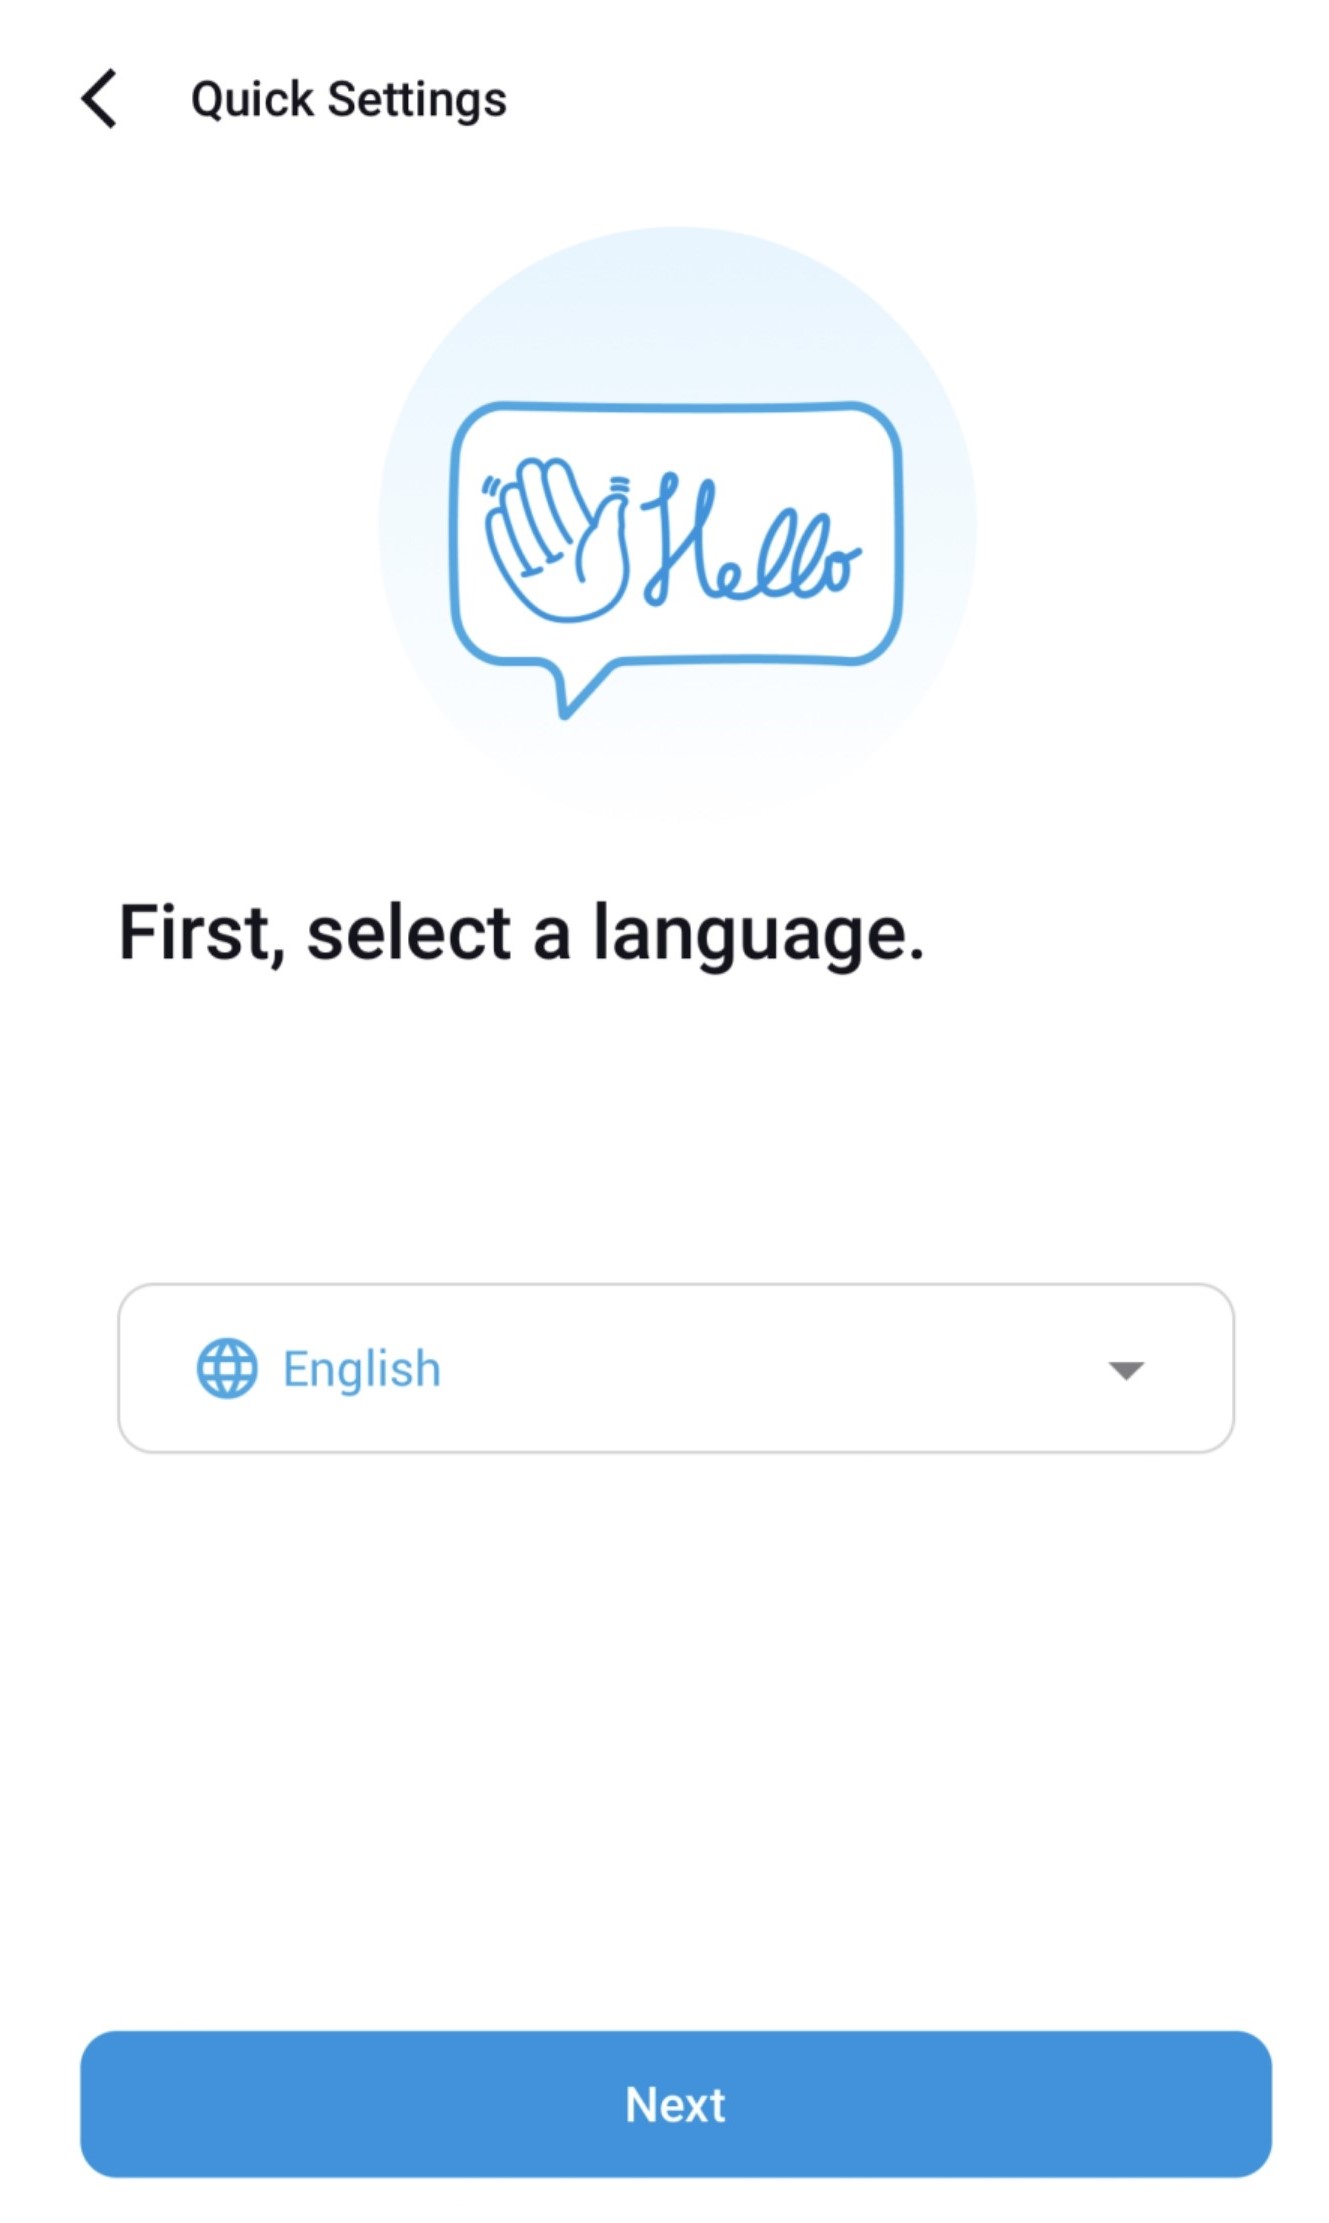
- Select the firmware language for your BlackVue dashcam. Once selected , click next.
- Select a time zone of user location. Click next.
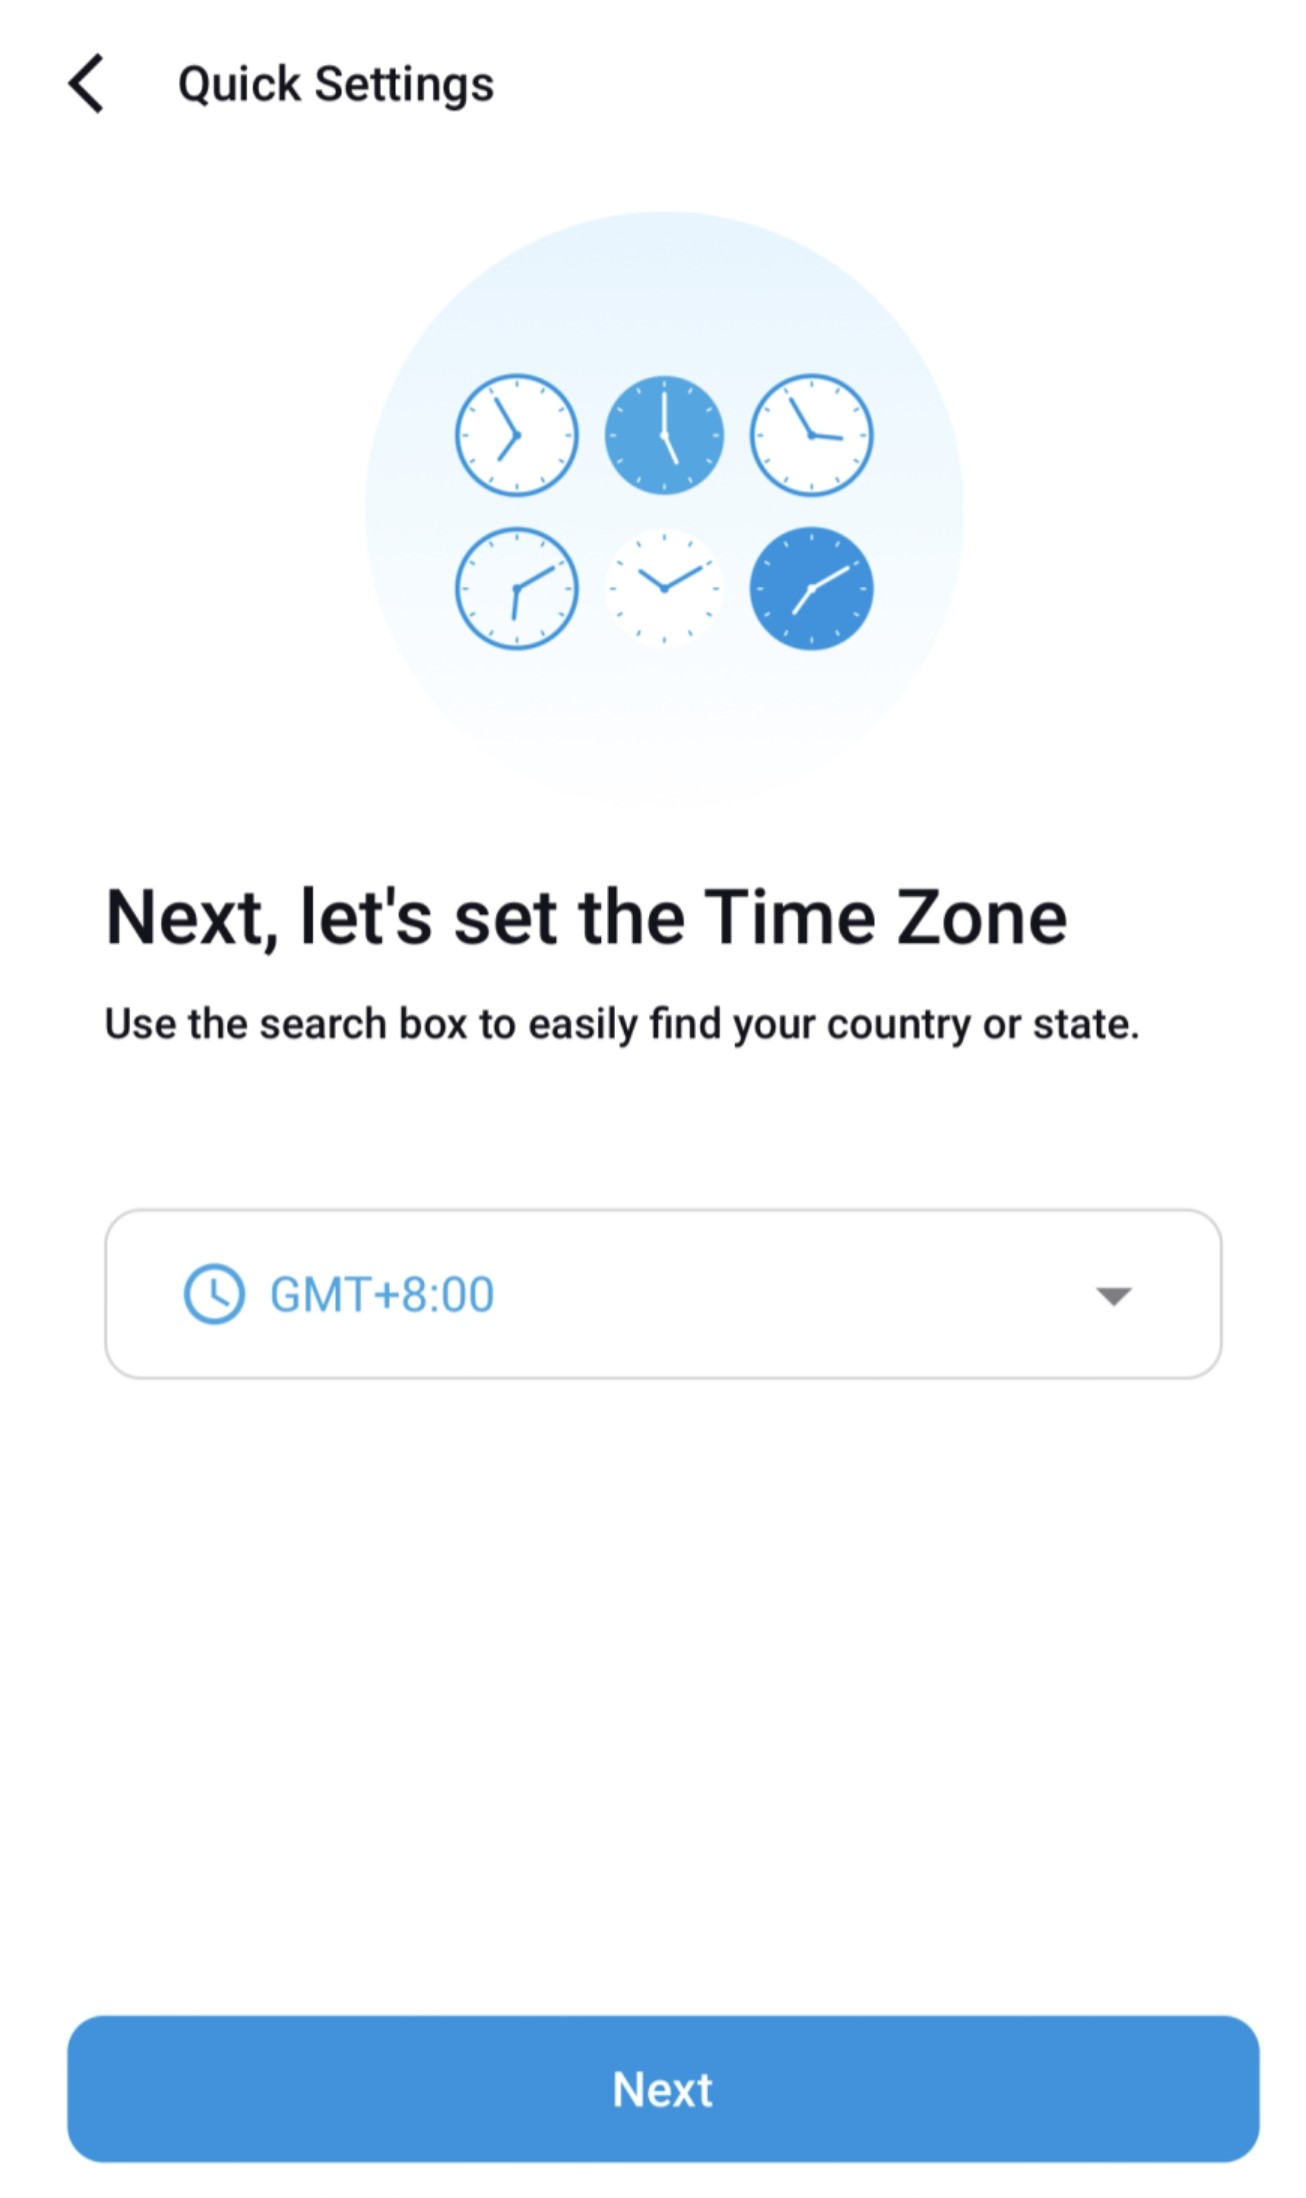
Please note that whenever time zone is setting is changed, the SD card is initialized to be formatted where all the
recorded videos will be deleted
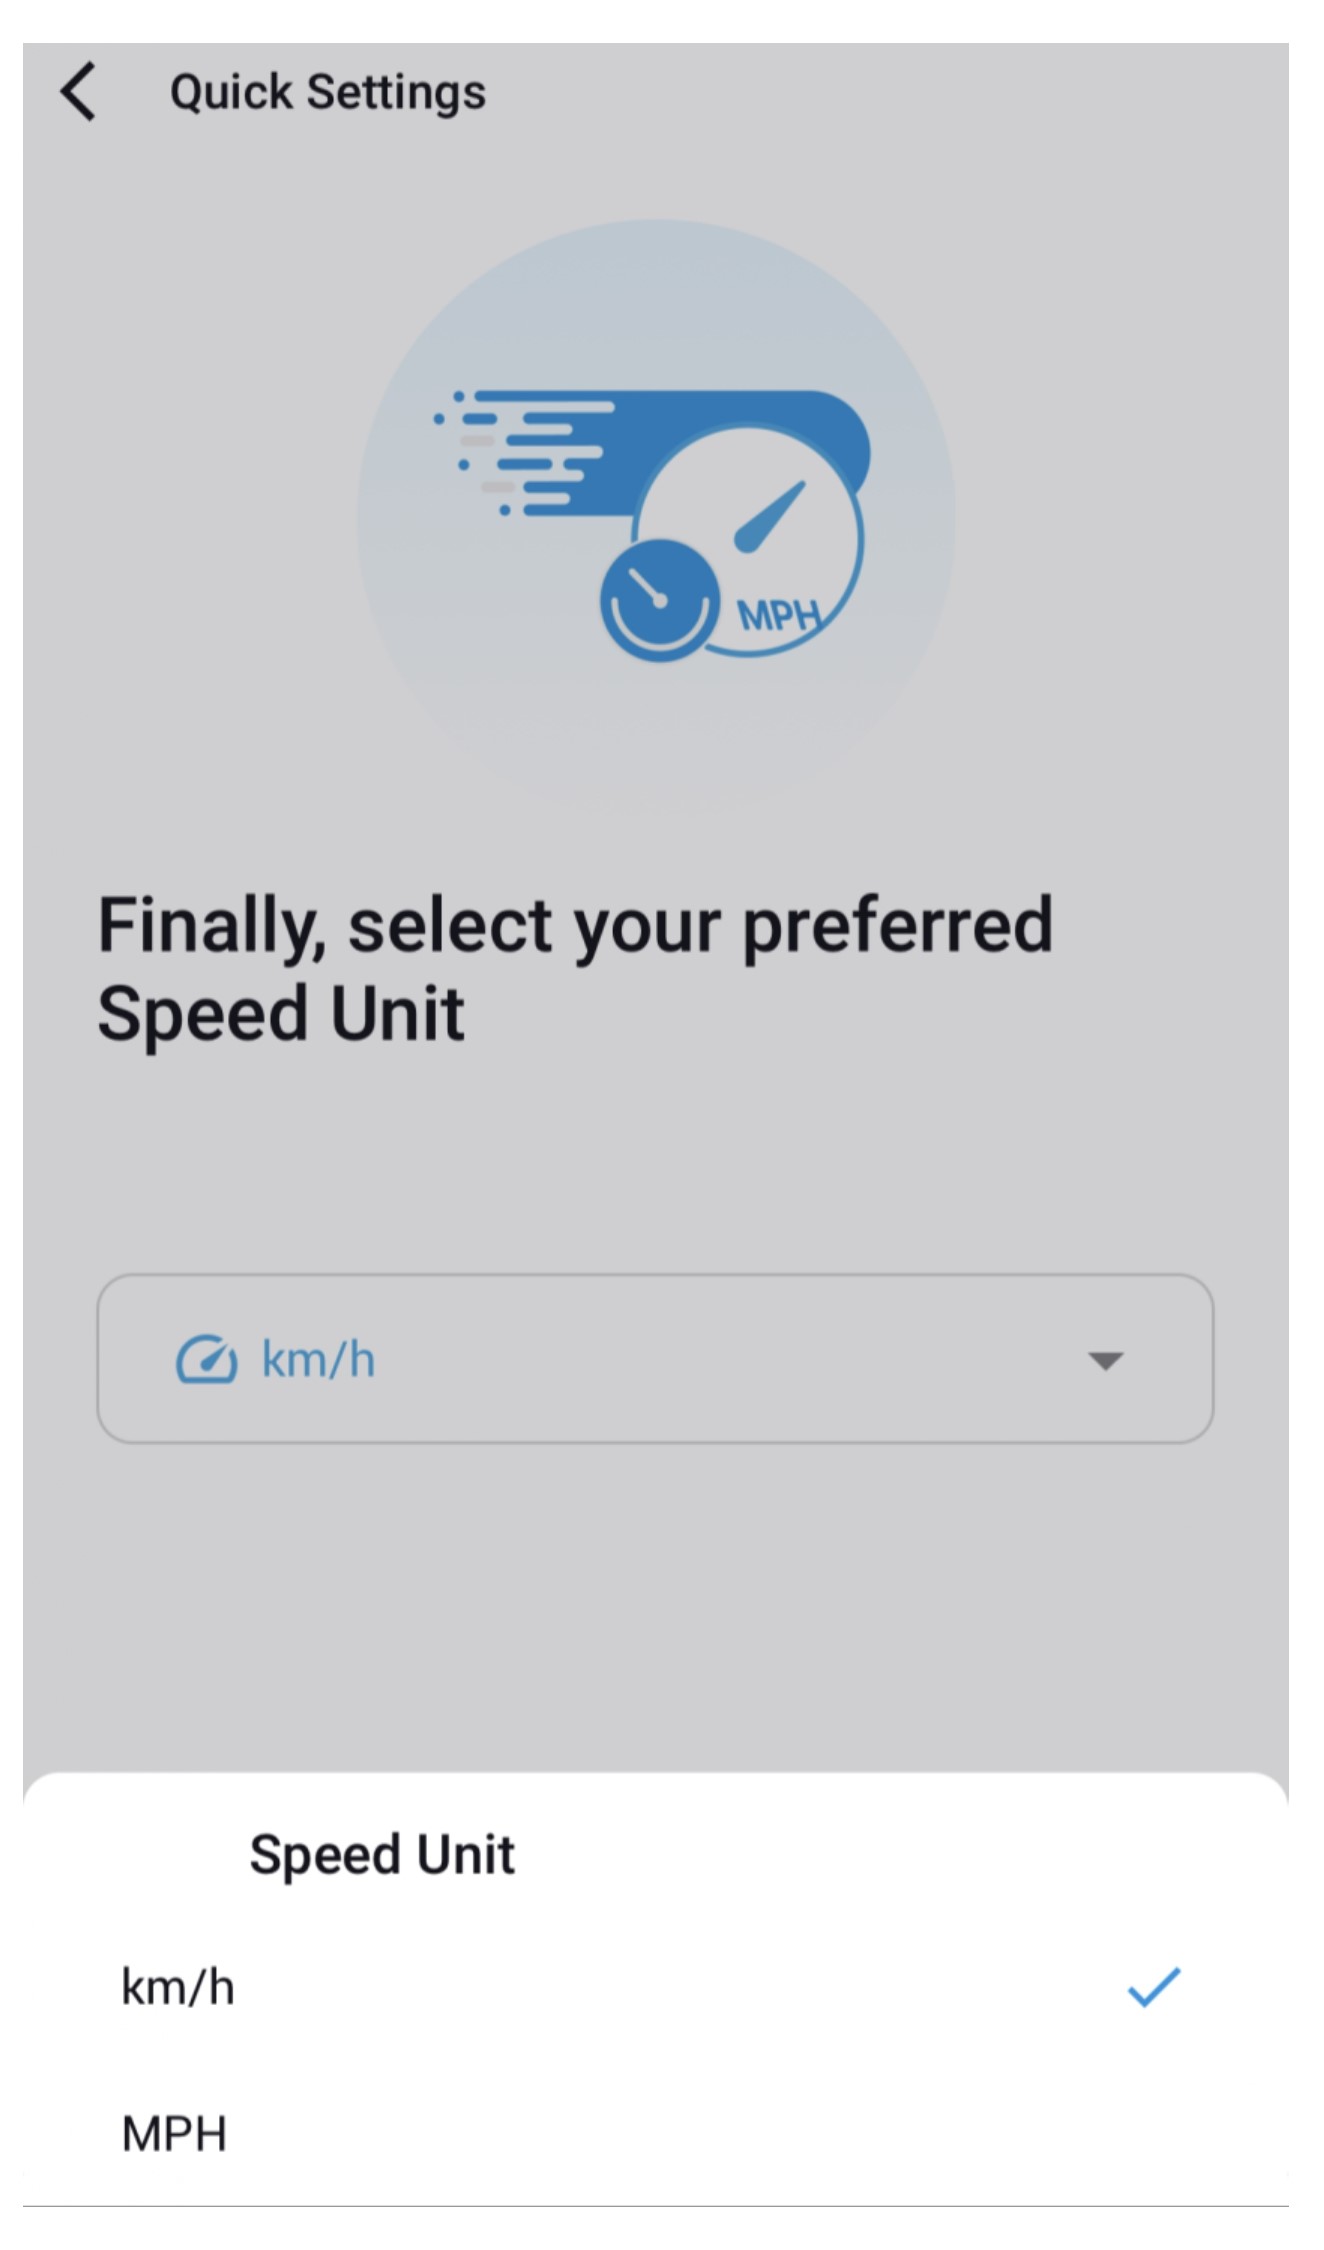
- Select the speed unit of your preference. Click next.
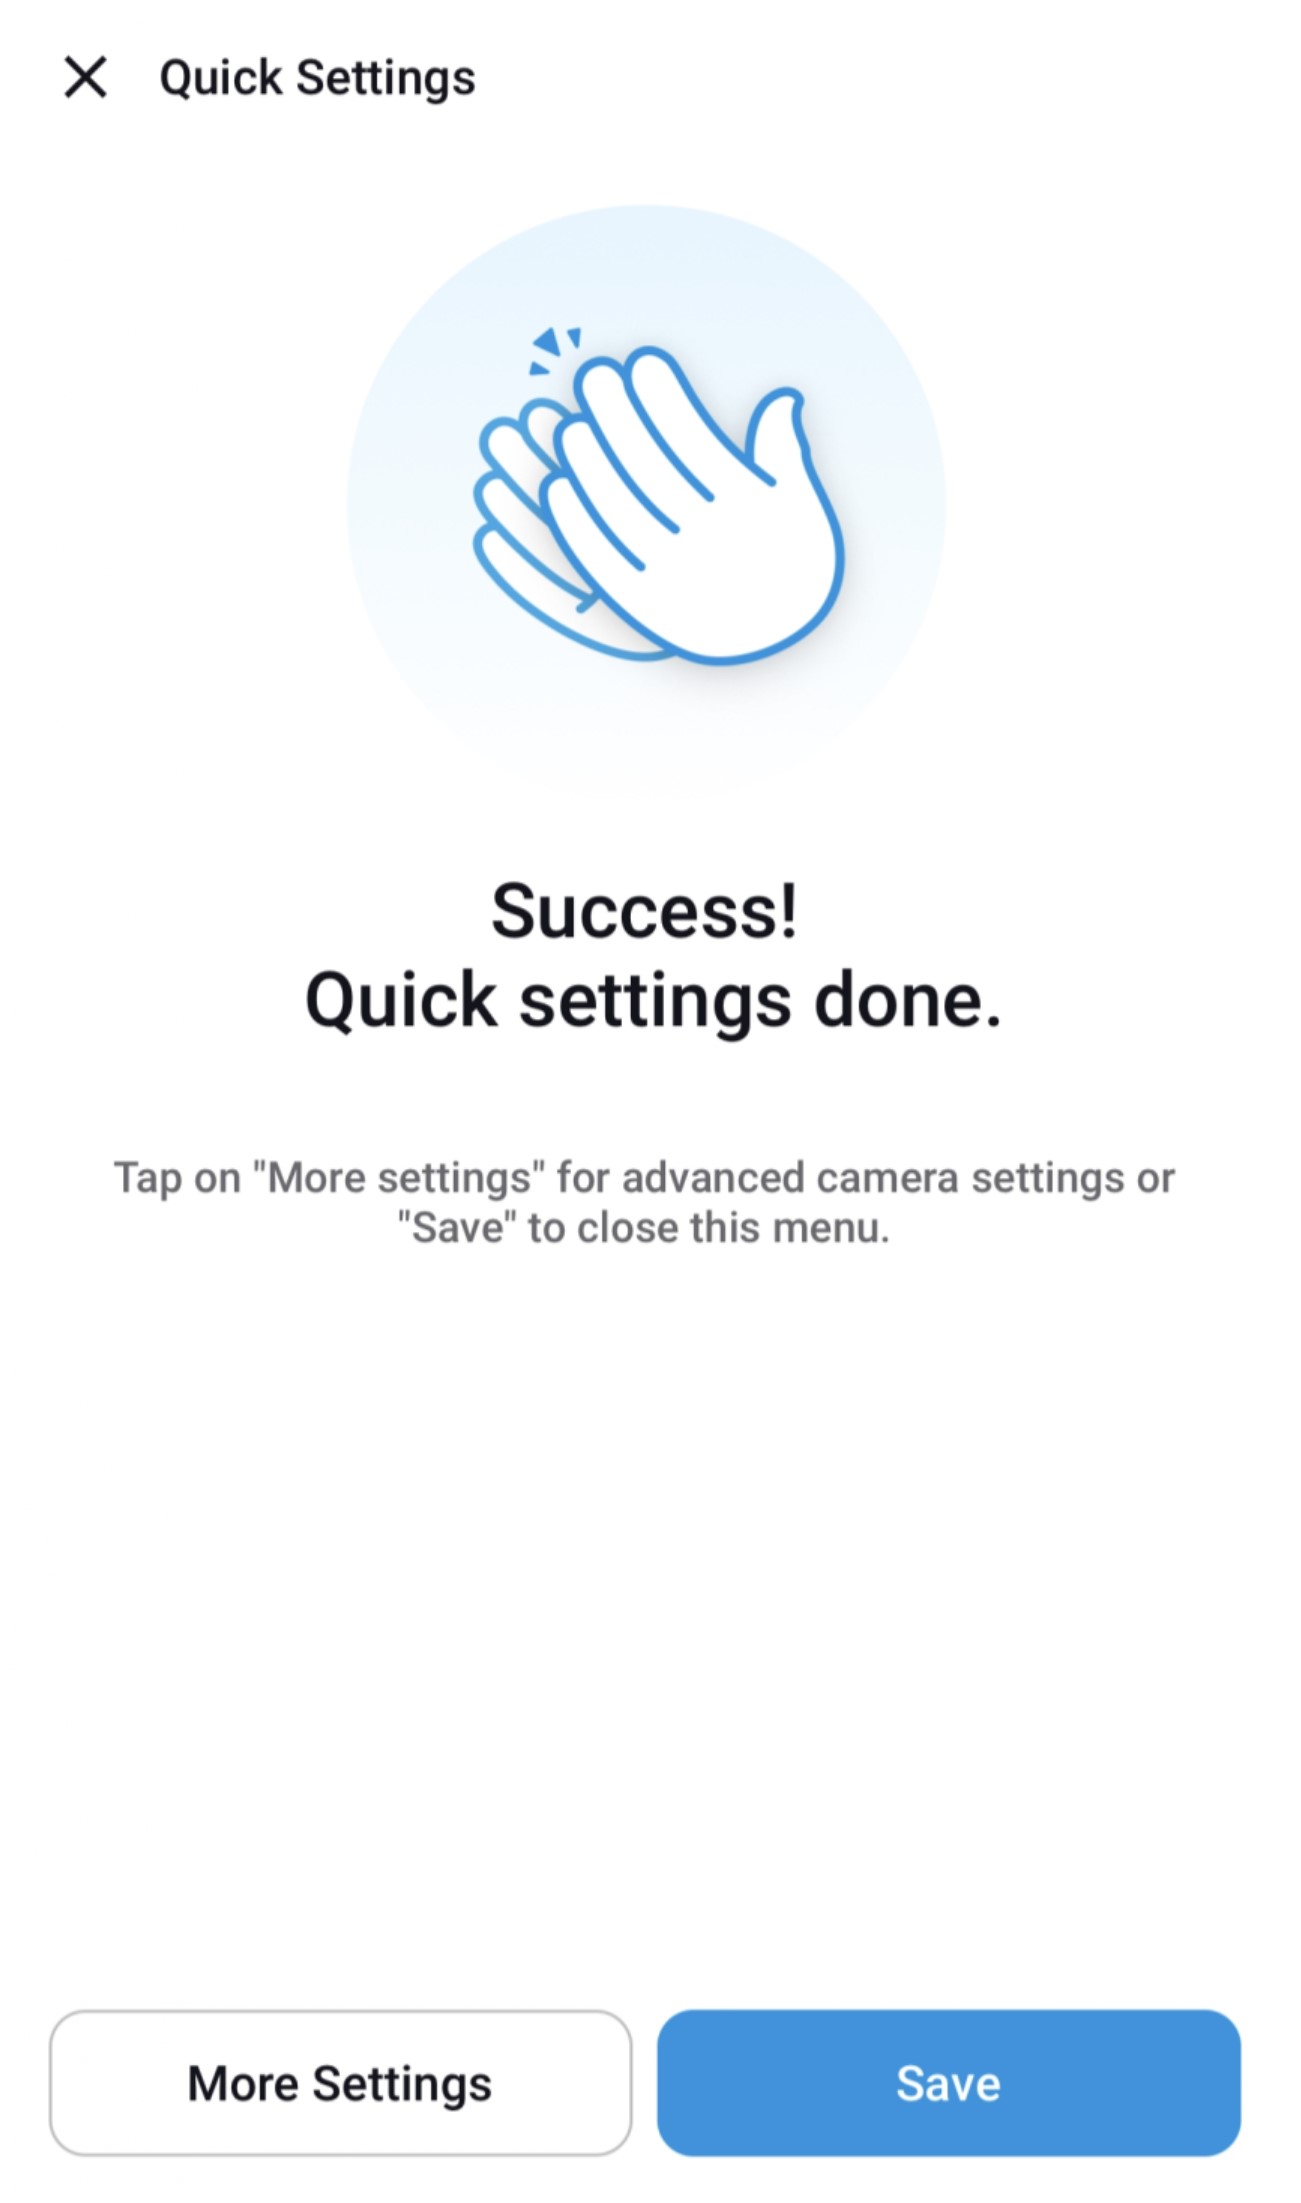
- BlackVue dashcam installation is complete.
Press "More settings" to access all of the oyher settings or press "Save".
Article ID: 75
Created: July 4, 2024
Last Updated: July 4, 2024
Online URL: https://help.wowgadgets.com.sg/article/dr970x-box-2ch-plus-using-blackvue-apps-to-add-camera.html